Google Workspace Guide
This guide explains how to integrate SWIRL with an existing Google Workspace (GW) tenant. It is intended for GW administrators who can register new applications in the GW Portal.
Administrators may also need to grant API permissions so users can query their personal GW content through SWIRL.
Register a New App in GW Portal
You need administrator access to your organization's Google Workspace admin console to enable APIs and create OAuth credentials. If you don't have admin access, contact your IT administrator.
To connect SWIRL to a GW tenant, first register and configure a new app in the GW Portal.
Once registered, the app allows:
- User authentication via OIDC.
- Personal GW content searches using OAuth2 permission consent.
Before You Begin
Ensure you have the following details about your SWIRL deployment:
swirl-host— the fully qualified domain name of your SWIRL instance.swirl-port— the port SWIRL runs on (only needed if different from the default).
For example, if your deployment is search.swirl.today, then swirl-host is search.swirl.today.
HTTPS Requirement
To use OIDC and OAuth2 with Google, your deployment must use https (except localhost, where http:// is allowed). Single-page applications and web protocols in GW applications require https:// for fully qualified domains.
Registration Procedure
- Log in to the Google API Console as an Admin user: https://console.developers.google.com/

- Create a new project in the API console
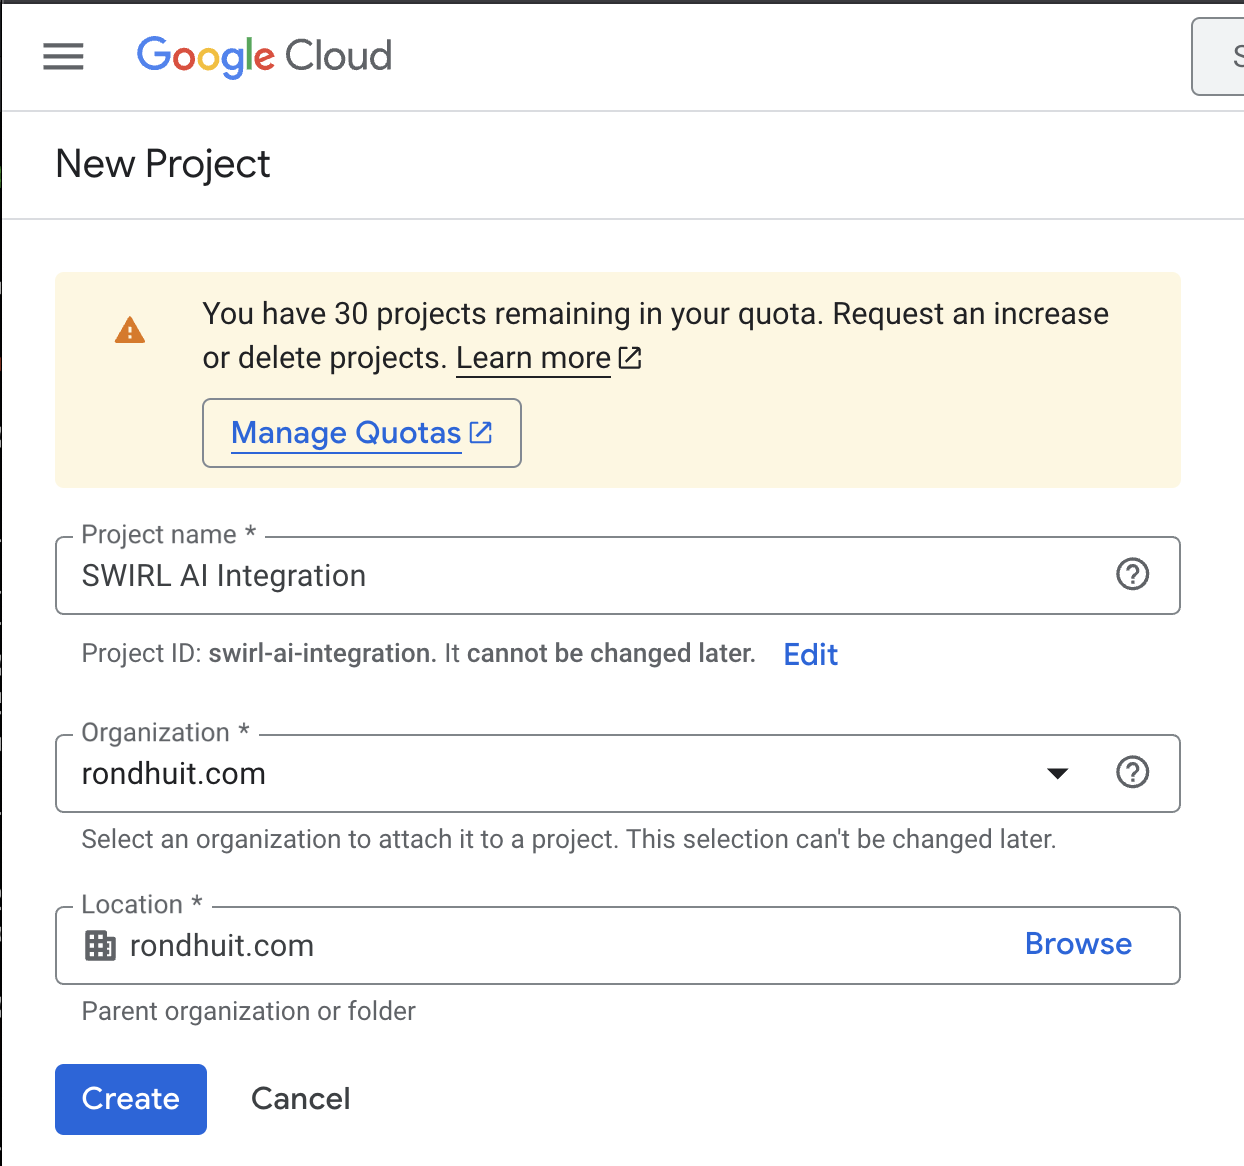
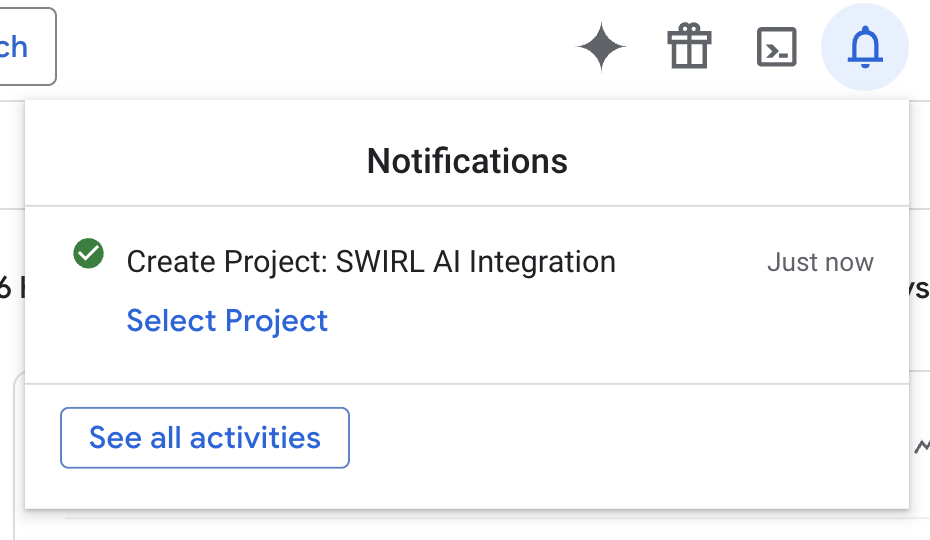
- Once the project has been created, select it.
- The next step is to enable the necessary APIs in the project. Click the
Enable APIs and servicesnear the top of the page:

- Search for the
gmail app:
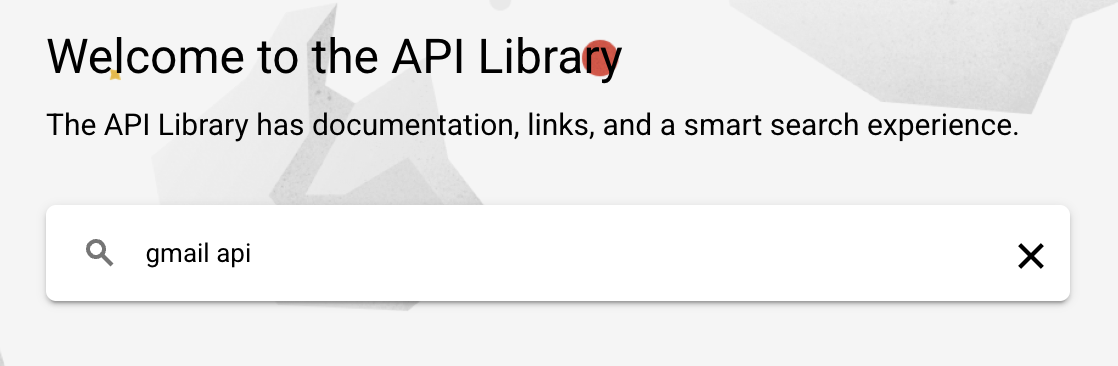
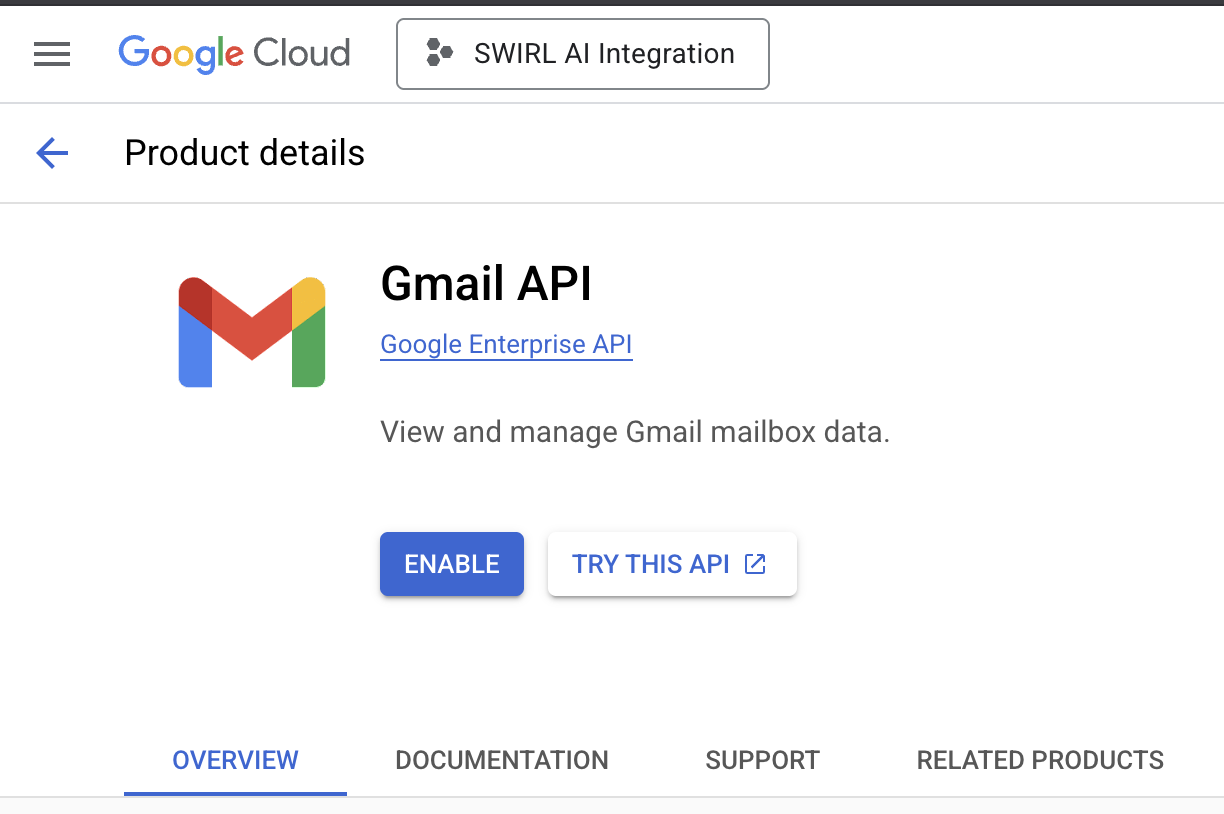
- Select the "GMail API" option from the results list:

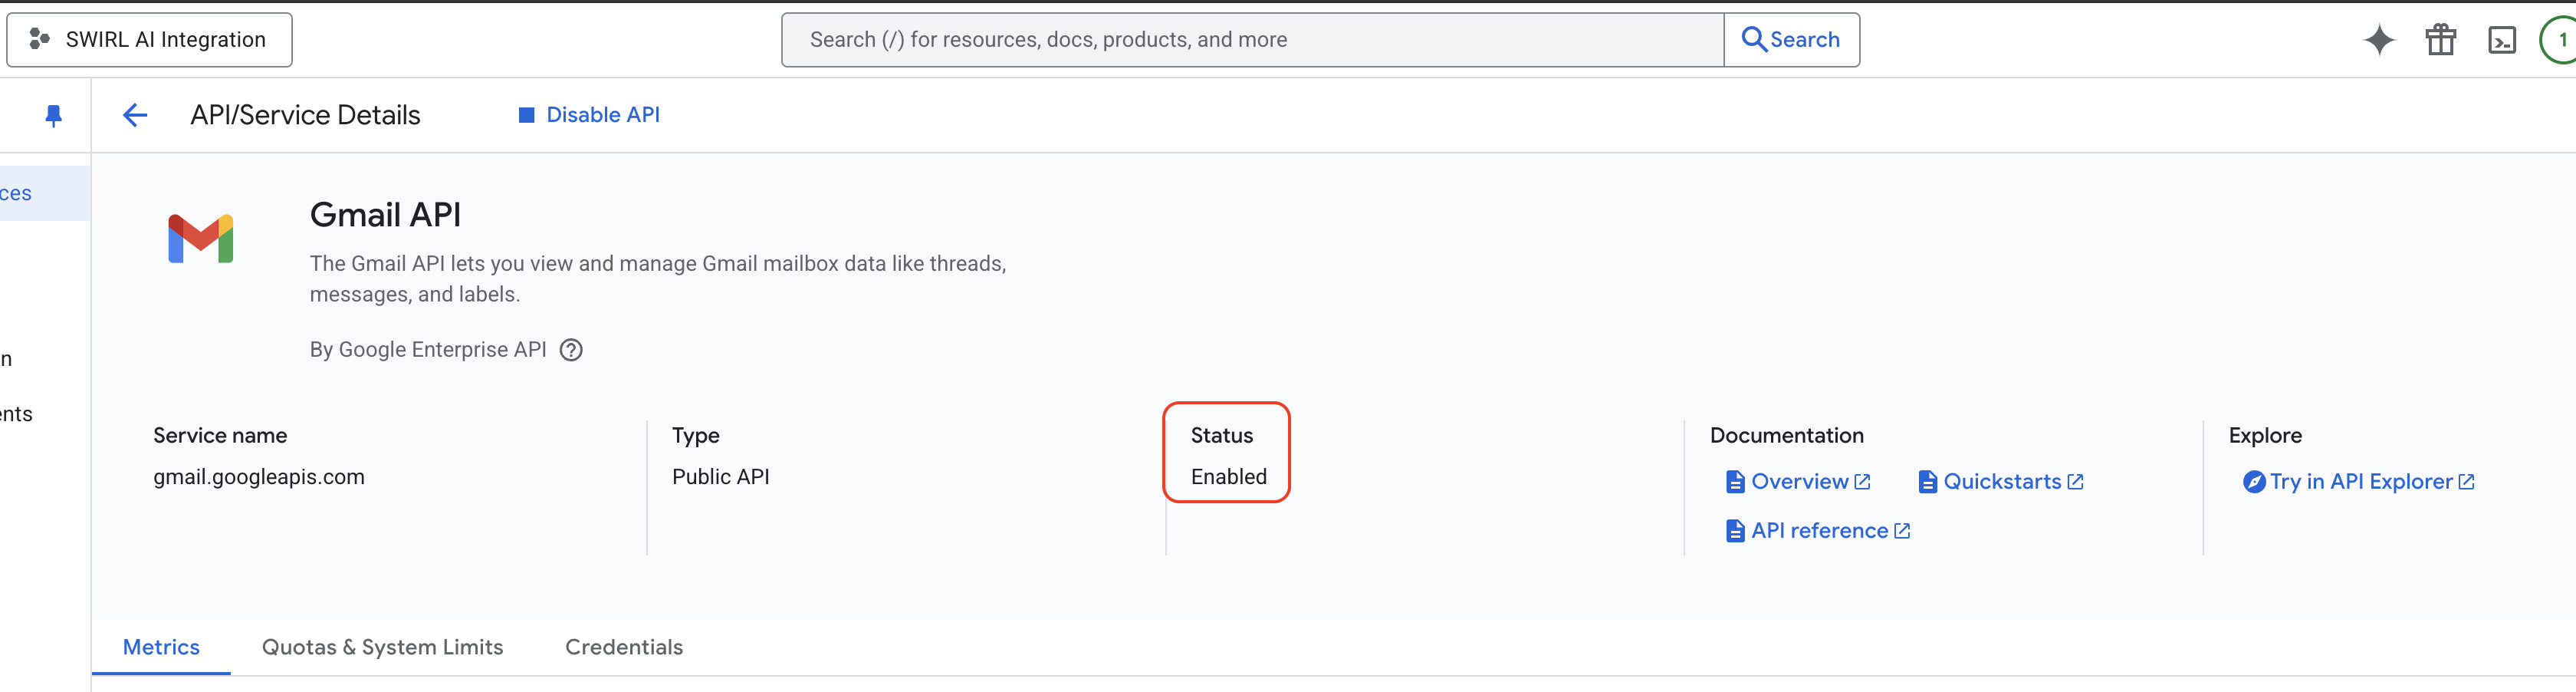
- Click the "Enable" button on the "Gmail API" details page:
- A confirmation page should appear:
- Repeat steps 5 - 8 for each of the following APIs:
Complete this process for the following APIs:
- Google Drive API
- Google Calendar API
- Google People API
- The next step is to create credentials for the selected APIs.
Google will likely suggest this as soon as you save changes.

Click the "Create credentials" button. Alternately, if it does not suggest this, click the Credentials link in the left-side menu of the page.
In the "Credential Type" dialog, make sure all of the APIs appear in the "Which API are you using?" dropdown list. Then, select the "User Data" option under the "What data will you be accessing?" frame below that.
Then, click the "Next" button.
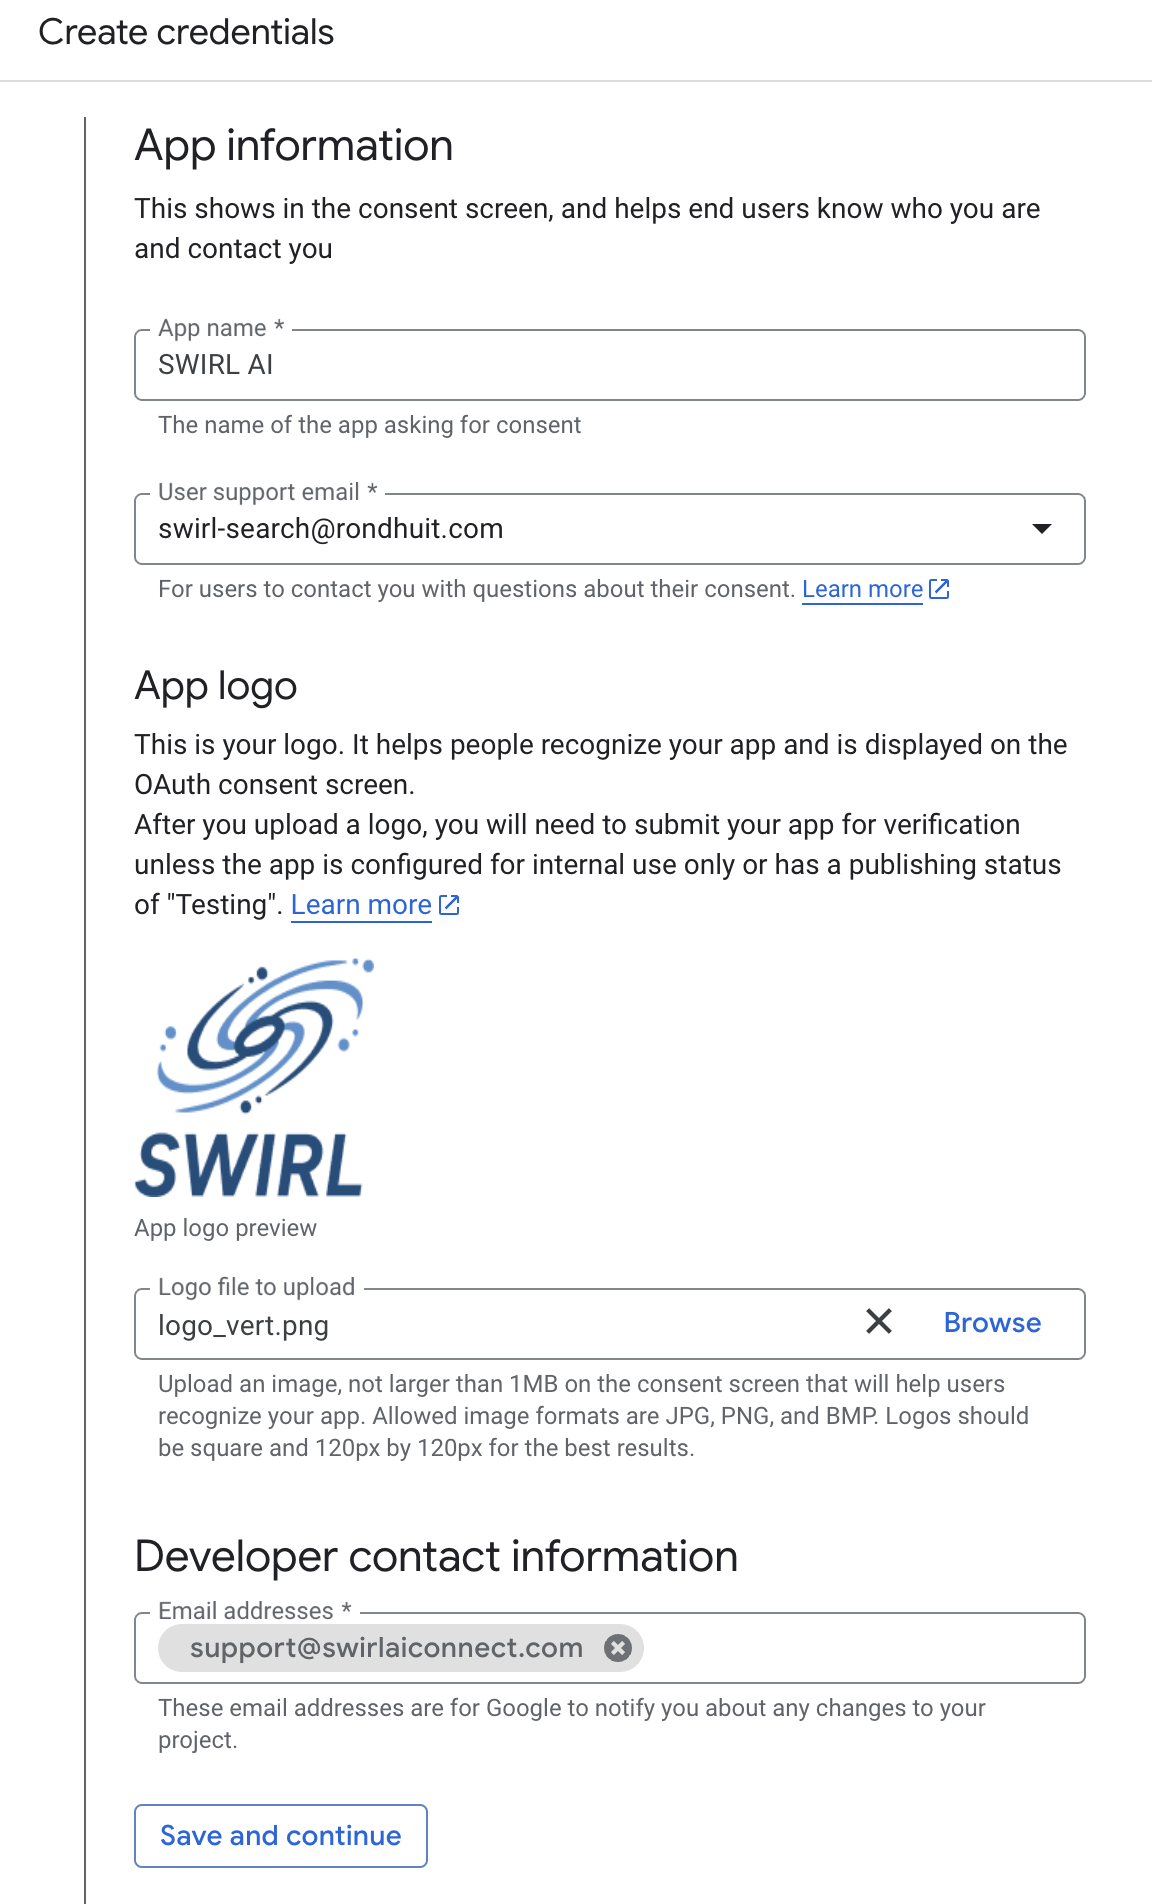
Finally, on the "OAuth Consent Screen" that follows, fill in the "App information", "App logo", and "Developer contact information" as appropriate.
Click the "Save and continue" button to save changes.
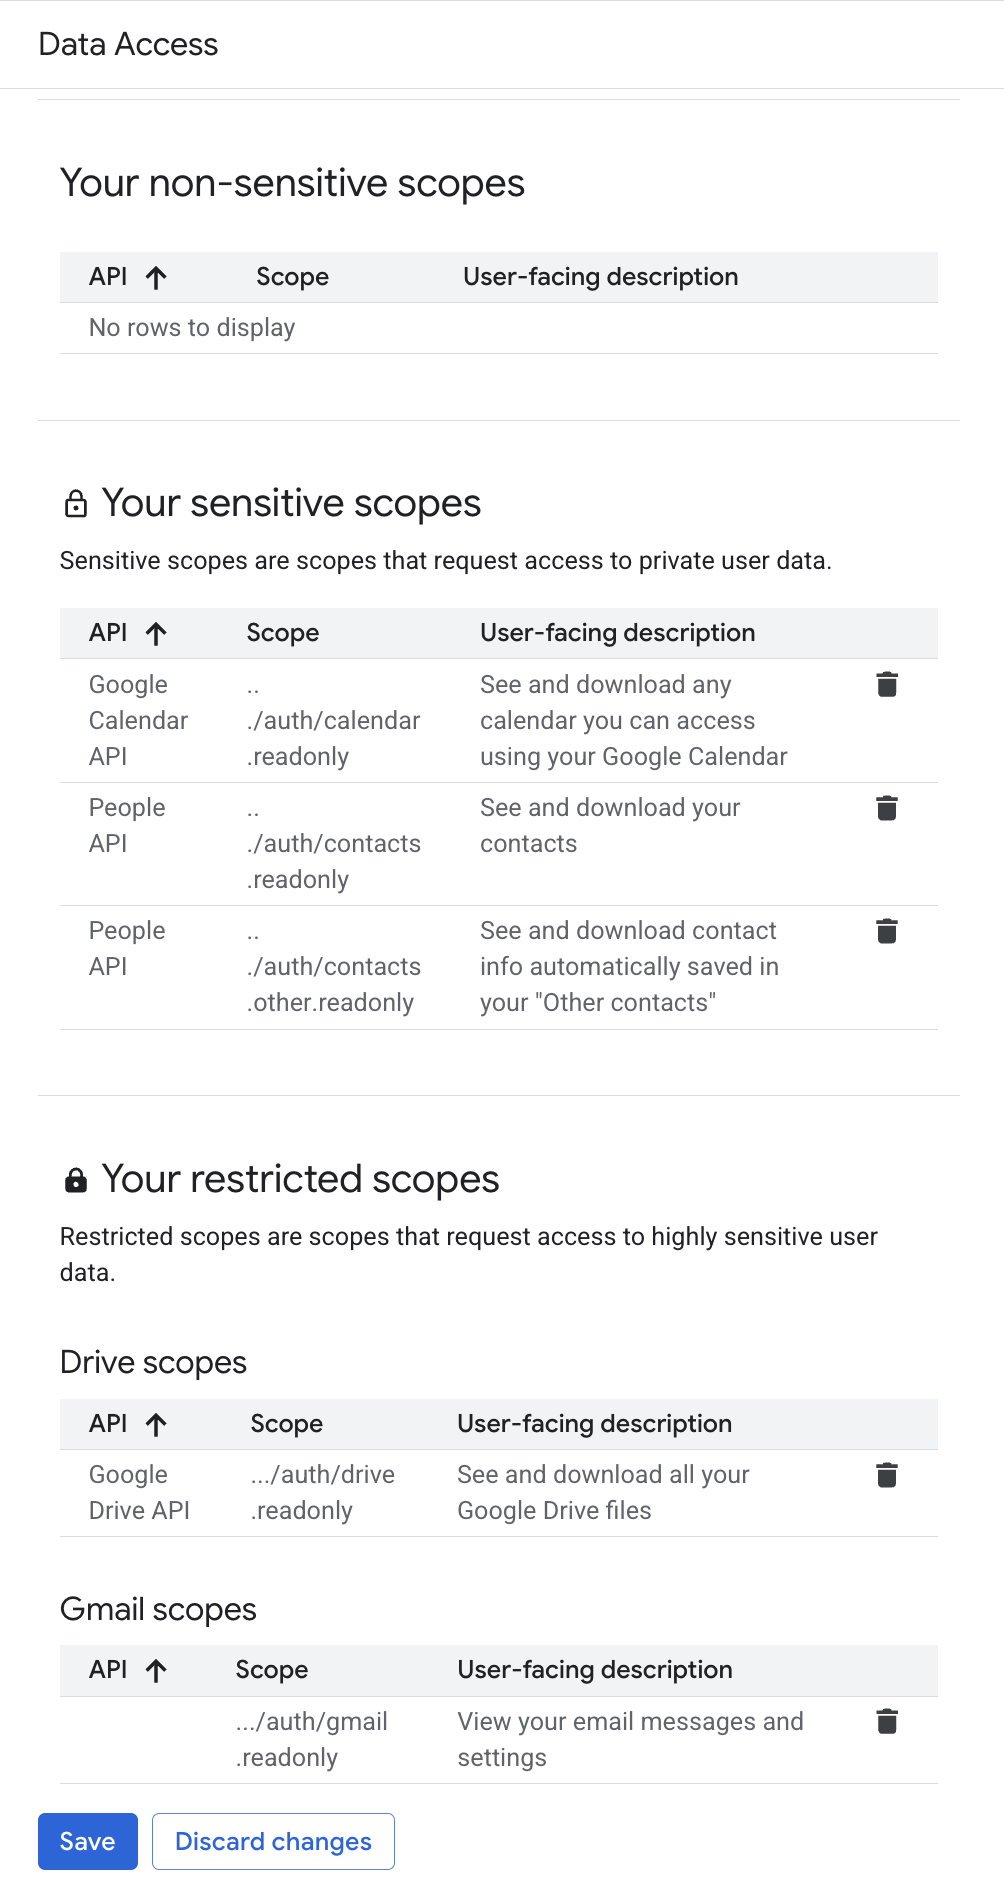
- On the "Scopes (optional)" screen that follows, click the "Add or remove scopes" button:
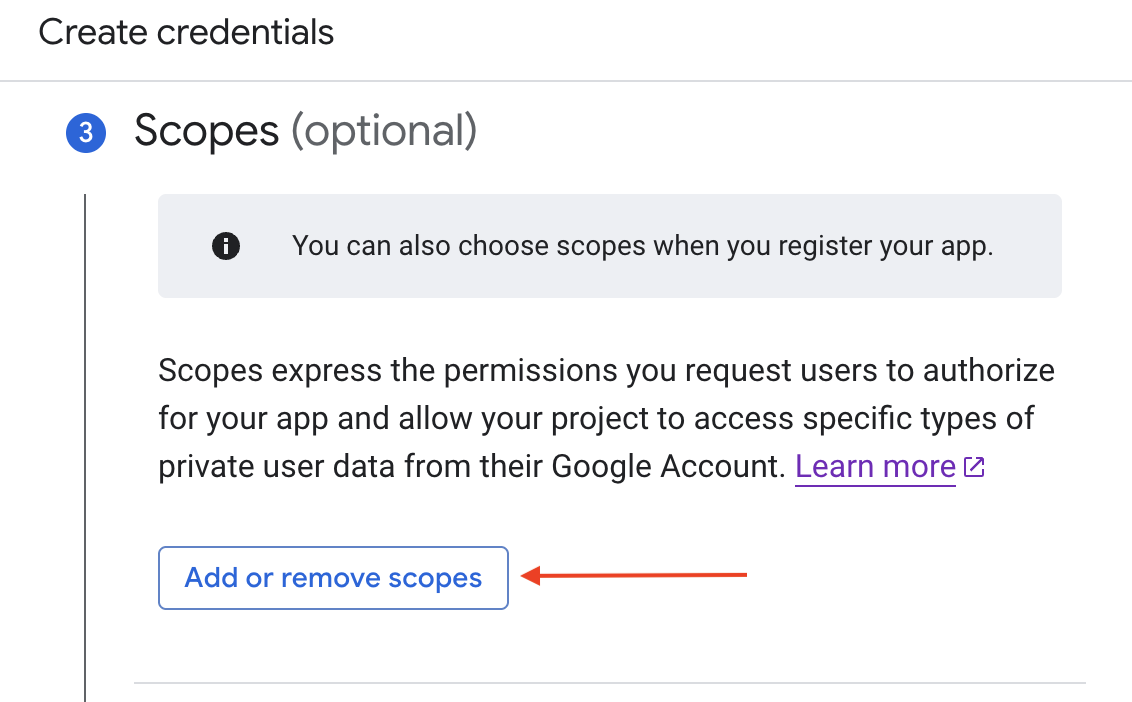
On the "Update selected scopes" screen that opens, scroll through the list and select the following scopes:
- Gmail API - https://www.googleapis.com/auth/gmail.readonly
- Google Drive API - https://www.googleapis.com/auth/drive.readonly
- Google Calendar API - https://www.googleapis.com/auth/calendar.readonly
- Google People API:
- For "My Contacts" - https://www.googleapis.com/auth/contacts.readonly
- For "Other Contacts" - https://www.googleapis.com/auth/contacts.other.readonly
If any of these scopes don't appear in the table listing -- the Gmail API scope, for example -- add it under the "Manually add scopes" section at the bottom and click the "Add to table" button.
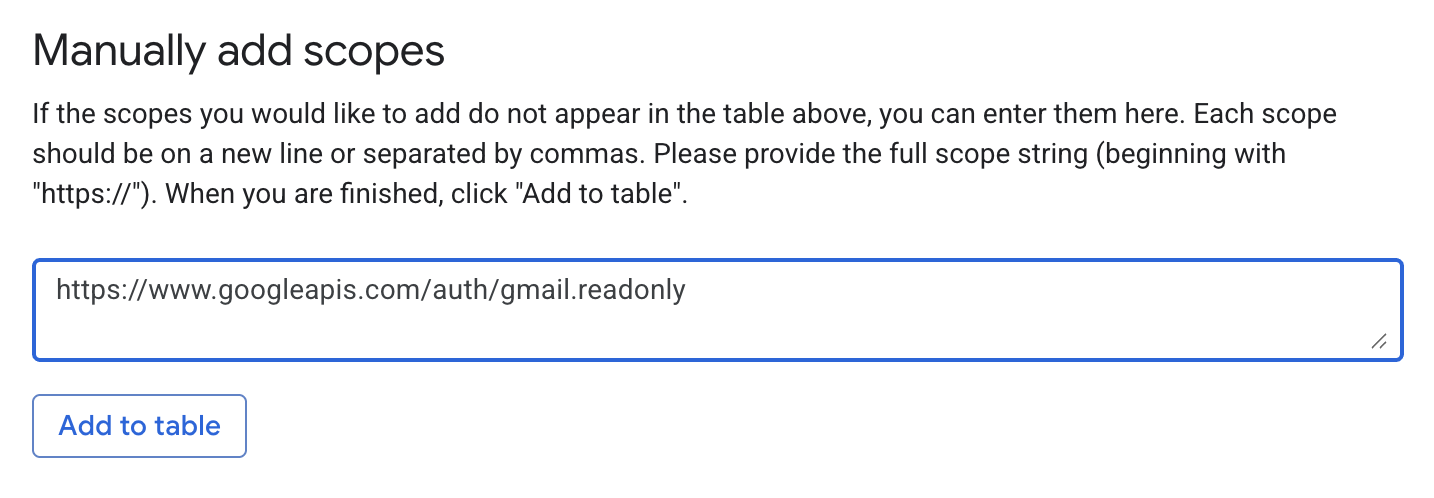
Once all of the necessary scopes have been added, click the "Update" button at the bottom of the table.
Each of the scopes will now appear in their appropriate "Data Access" sections of the "Create Credentials" workflow.
Click the "Save and continue" button at the bottom of the workflow to continue.
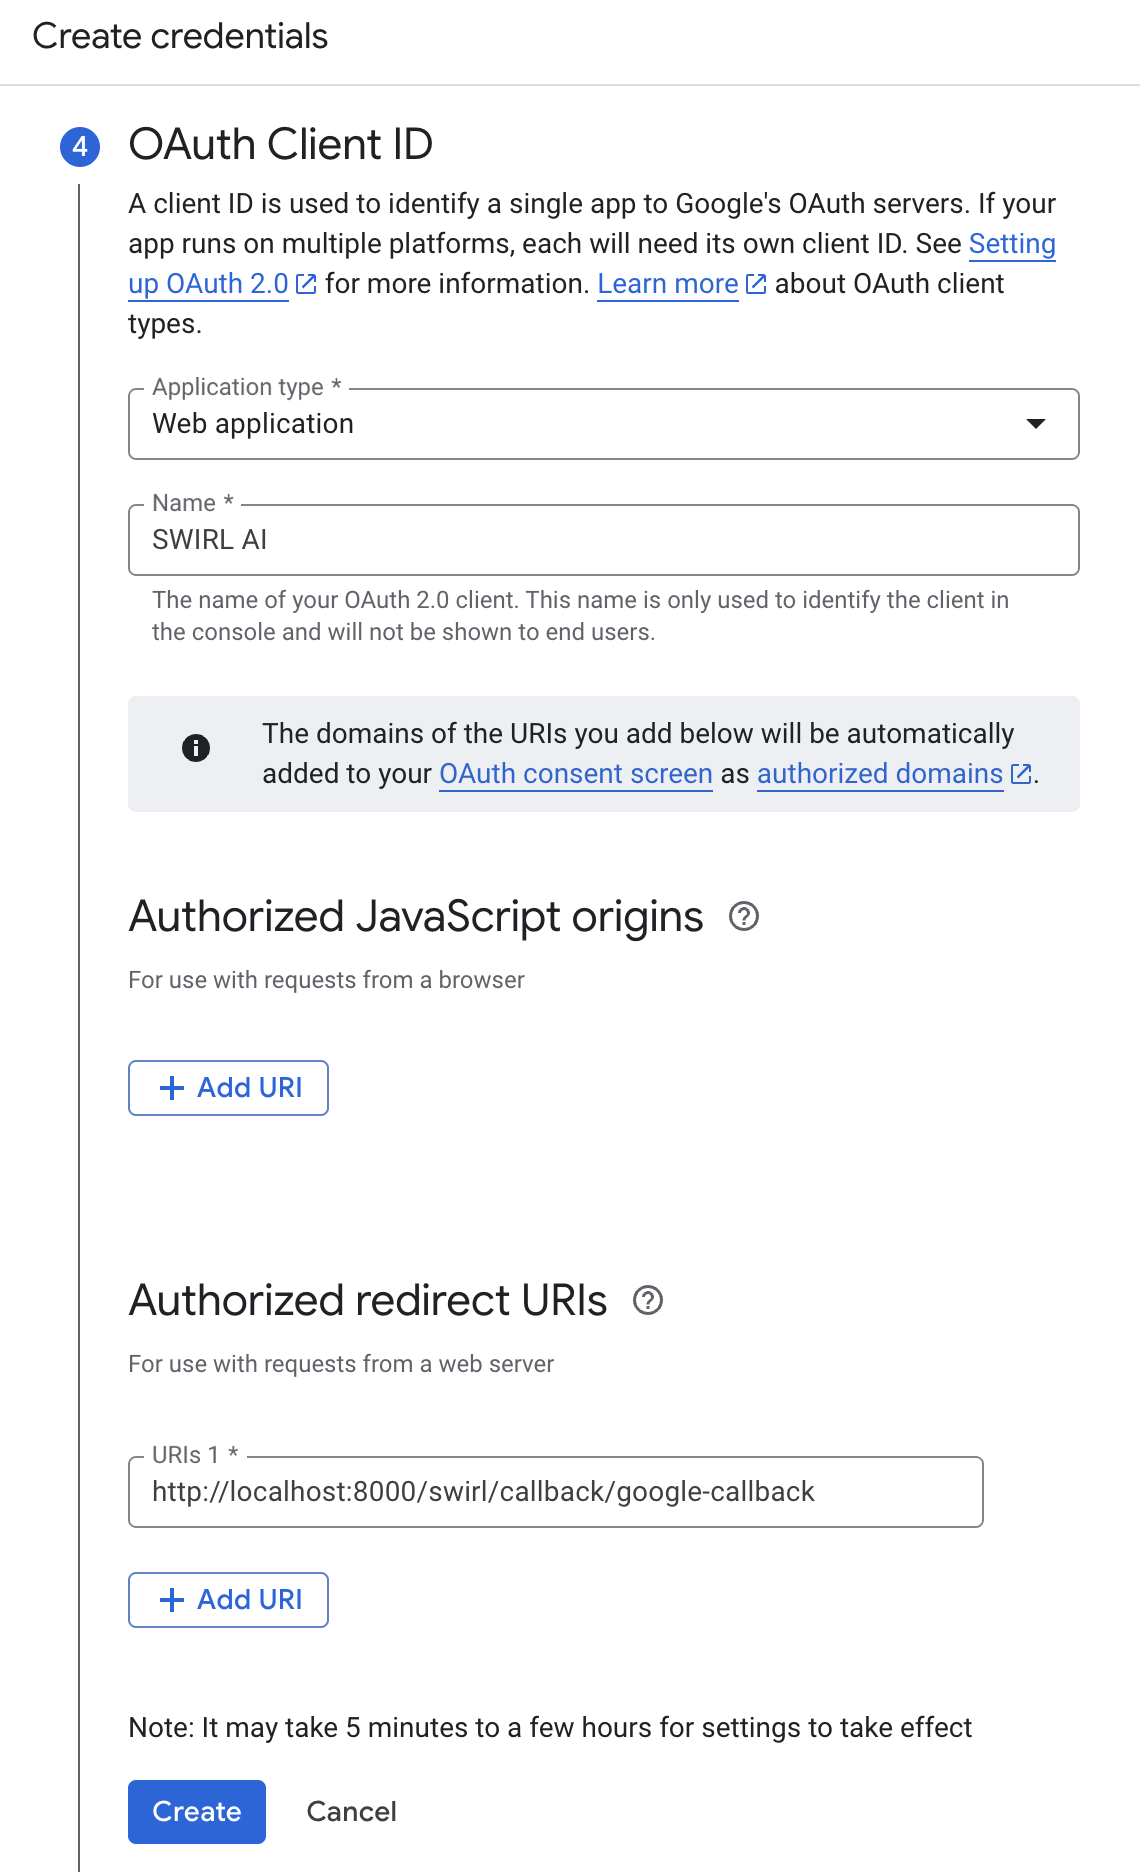
- On the "OAuth Client ID" screen that appears next:
-
Under the "Application type" menu, select: Web Application
-
In the "Name" input box, enter a name for your OAuth2 client
-
Under the "Authorized redirect URIs" section, add at least one Redirect URI.
This entry will map directly to an Authenticator configuration in your SWIRL AI instance. Enter a valid domain, including localhost:8000 for testing if desired, and append this path after each entry: /swirl/callback/google-callback
For example "Authorized redirect URI" entry: http://localhost:8000/swirl/callback/google-callback
Click the Create button when ready.
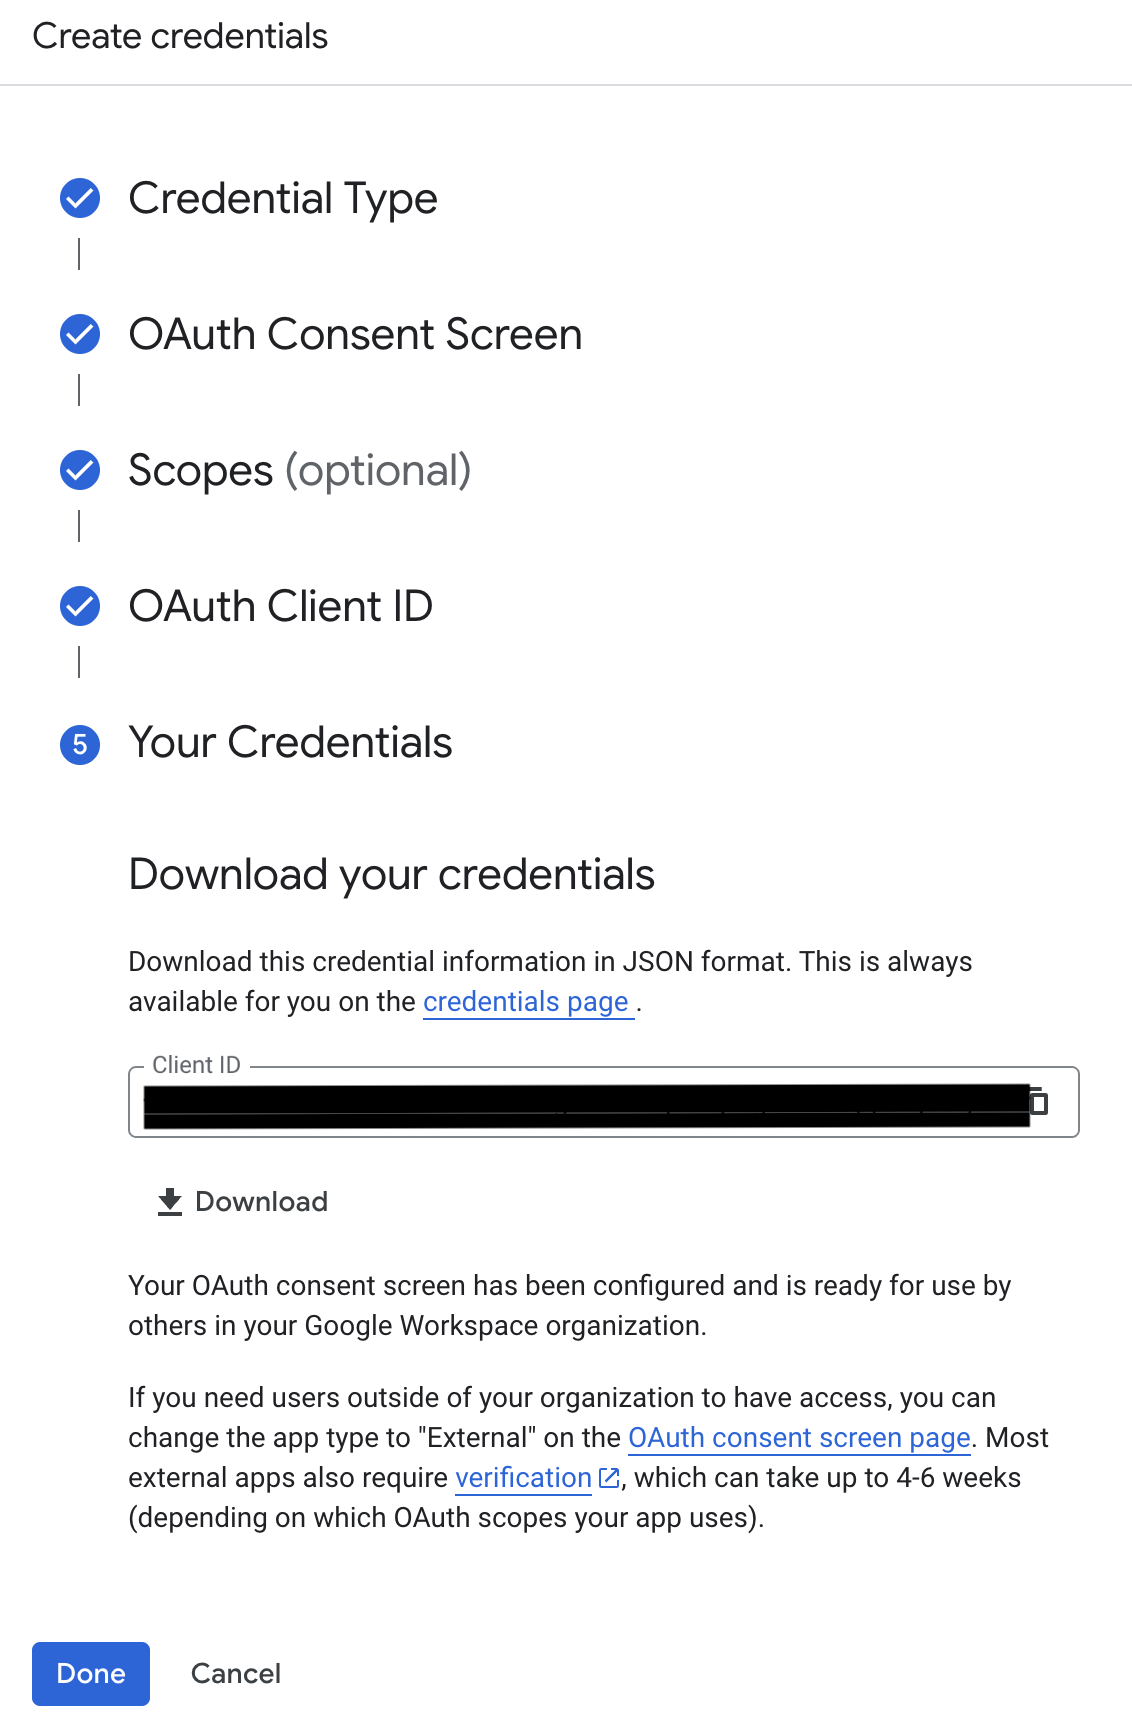
In the "Your Credentials" that appears after the redirect URIs are created, find the "Client ID", download it and store it safely. This value will be needed for Authenticator configuration in SWIRL AI.
Click the "Done" button when the Client ID value has been saved locally.
- Download and securely store the Client Secret
To find the Client Secret for the new app, click the "Clients" link on the left side of the page, and then click on the app's name under the "OAuth 2.0 Client IDs" section:

On the "Client ID for Web application" page that follows, locate the "Client Secret" entry in the right-side column, download or copy that value, and store it safely alongside the Client ID value from the prior step.
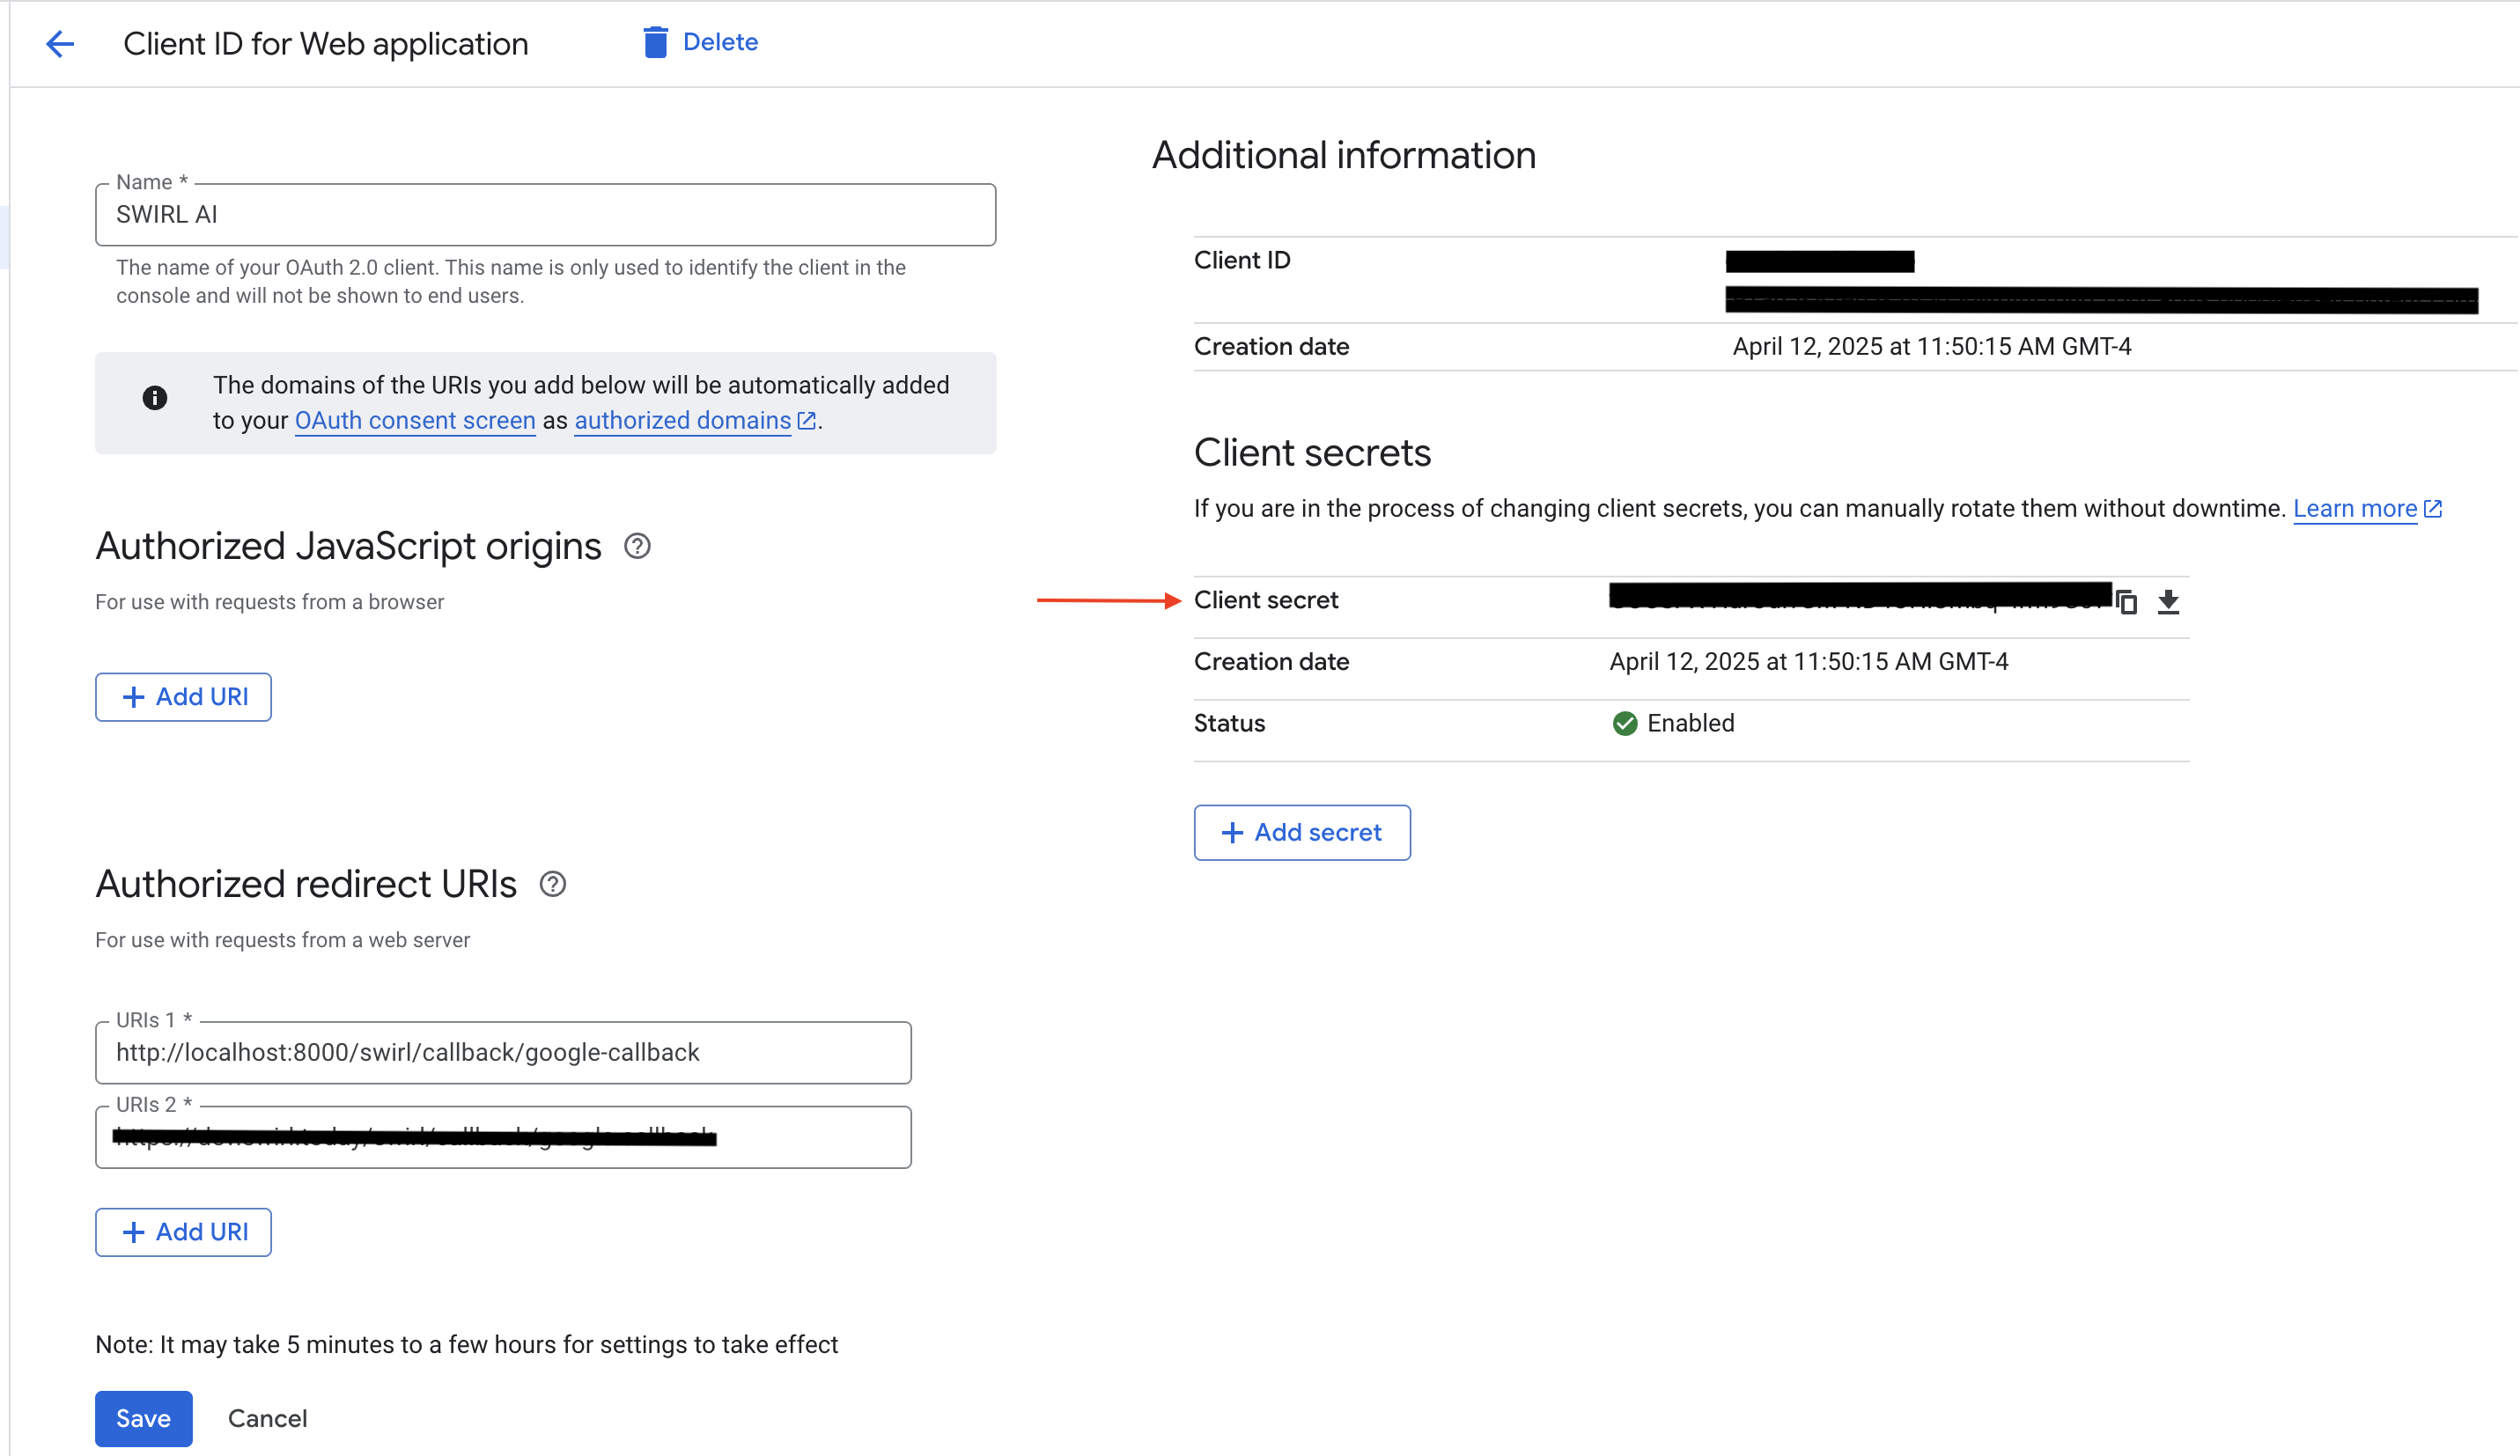
Click the "Save" button - or "Cancel", if you changed values on this screen - after storing the Client Secret value locally.
Configure the Google Authenticator
SWIRL includes a preconfigured Google Workspace Authenticator, here: http://localhost:8000/swirl/authenticators/Google/
Use the Admin Console to configure it: http://localhost:8000/admin/swirl
Click on the "Authenticators" link:
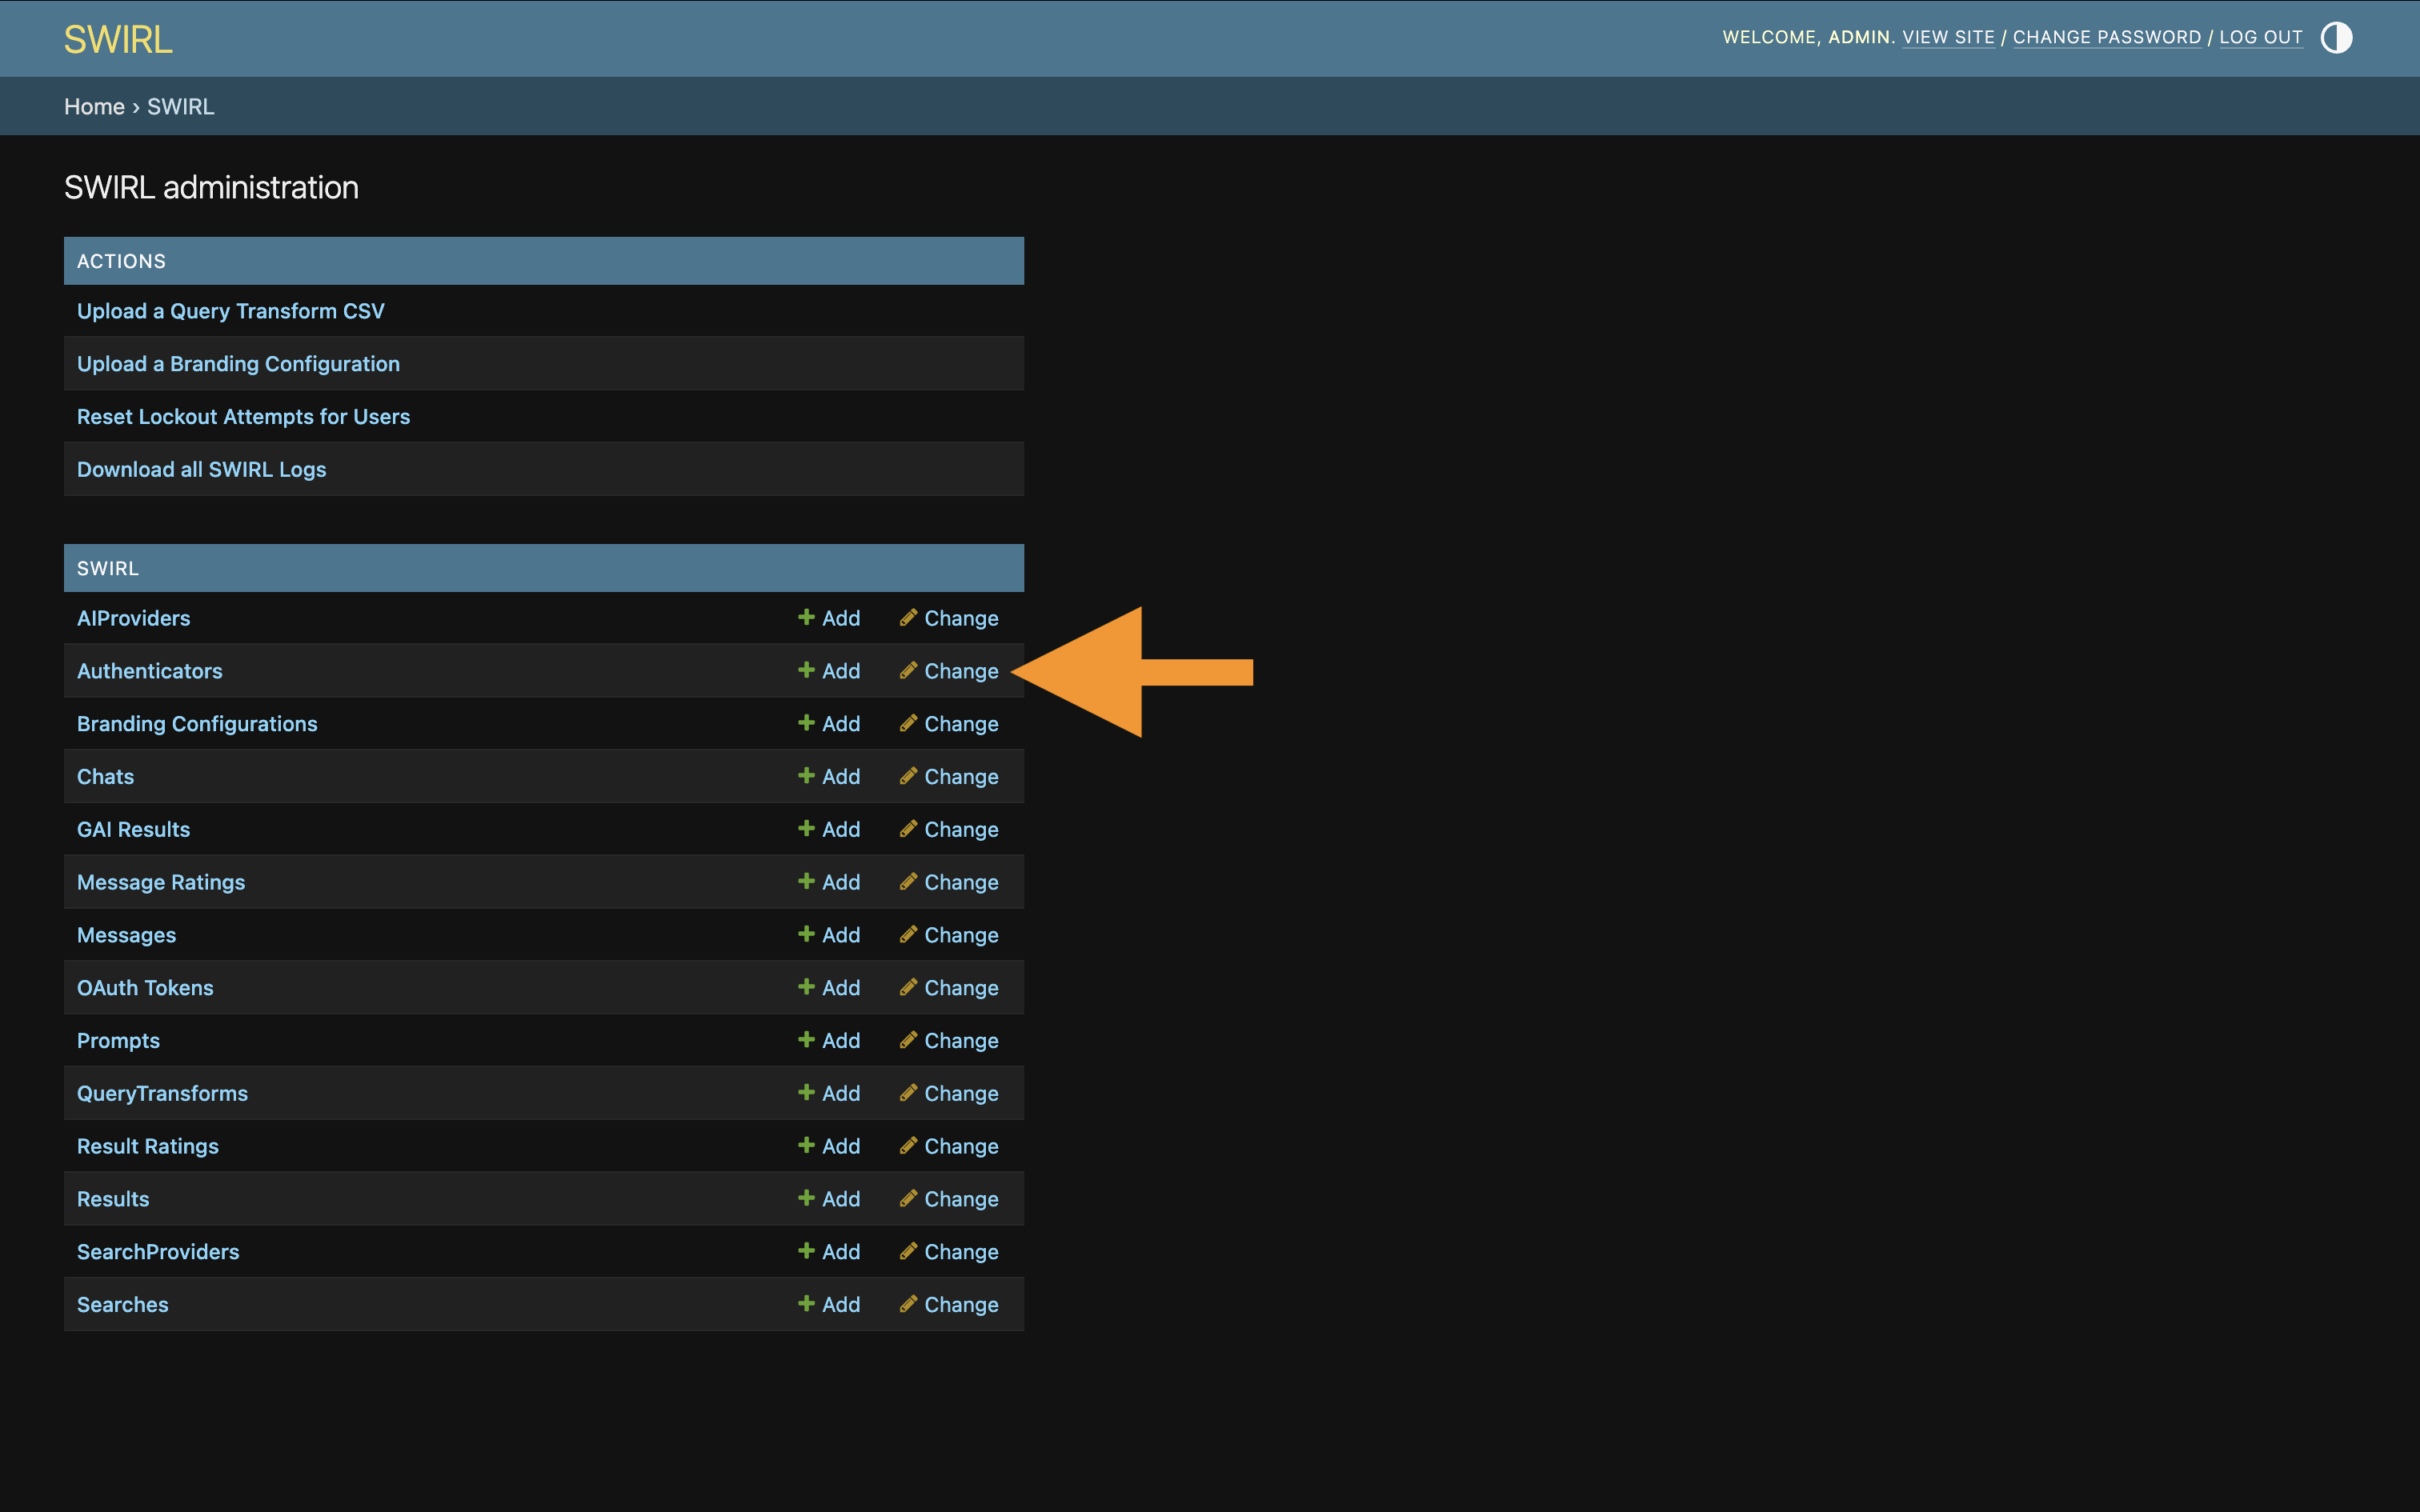
Click the "Google Workspace" Authenticator to bring up the edit form.
Make the following changes:
* Update the Authenticator client_id
* Update the Authenticator client_secret
* Update the Authenticator app_uri value with the host and port of the SWIRL installation
* Update the Authenticator callback_path with the rest of the callback location
* Update the Authenticator active value to true.
Note: the app_uri plus callback_path must match one of the Redirect URIs configured above.
Do not include a trailing slash in the app_uri value!
{
    "idp": "Google",
    "name": "Google",
    "active": true,
    "callback_path": "/swirl/callback/google-callback",
    "client_id": "<Your-Client-ID>",
    "client_secret": "<Your-Client-ID>",
    "app_uri": "http://localhost:8000",
    "auth_uri": "https://accounts.google.com/o/oauth2/v2/auth",
    "token_uri": "https://oauth2.googleapis.com/token",
    "user_data_url": null,
    "user_data_params": {},
    "user_data_headers": {
        "Authorization": "Bearer {access_token}"
    },
    "user_data_method": "GET",
    "initiate_auth_code_flow_params": {},
    "exchange_code_params": {
        "client_id": "{client_id}",
        "grant_type": "authorization_code",
        "client_secret": "{client_secret}"
    },
    "is_code_challenge": true,
    "scopes": "https://www.googleapis.com/auth/gmail.readonly https://www.googleapis.com/auth/drive.readonly https://www.googleapis.com/auth/calendar.readonly https://www.googleapis.com/auth/contacts.readonly https://www.googleapis.com/auth/contacts.other.readonly",
    "should_expire": true,
    "use_basic_auth": true,
    "expires_in": 0
}
Click the PUT button to save the modified Authenticator.
Configuring OIDC for Google
Using Public Docker Compose
Use of OIDC is optional.
Main instructions: https://github.com/swirlai/docker-compose/blob/main/doc/setup-instructions.md#configure-oidc-with-google-as-the-idp-optional
Using Azure Marketplace
Use of OIDC is optional.
Configure the following environment variables in the .env file found in the deployment's /app directory:
GW_AUTH_CLIENT_ID- Google application registration client ID value.GW_TENANT_ID- Tenant ID value from Google Workspace IdP.PROTOCOL- The protocol used by the SWIRL instance (e.g.httporhttps).SHOULD_USE_TOKEN_FROM_OAUTH- Set this value to "True" (default) to use the tokens from OIDC. Otherwise, set it to False.SWIRL_FQDNThe Fully Qualified Domain Name of the SWIRL instance.SWIRL_PORTThe port used by SWIRL (defaults tounsetallowingPROTOCOLto set to 443 for HTTPS, and 80 for HTTP).
Restart SWIRL
sudo systemctl stop swirl
sudo systemctl start swirl
During the SWIRL start-up process, the following command is run, which populates the /app/static/api/config/default file:
python swirl.py config_default_api_settings
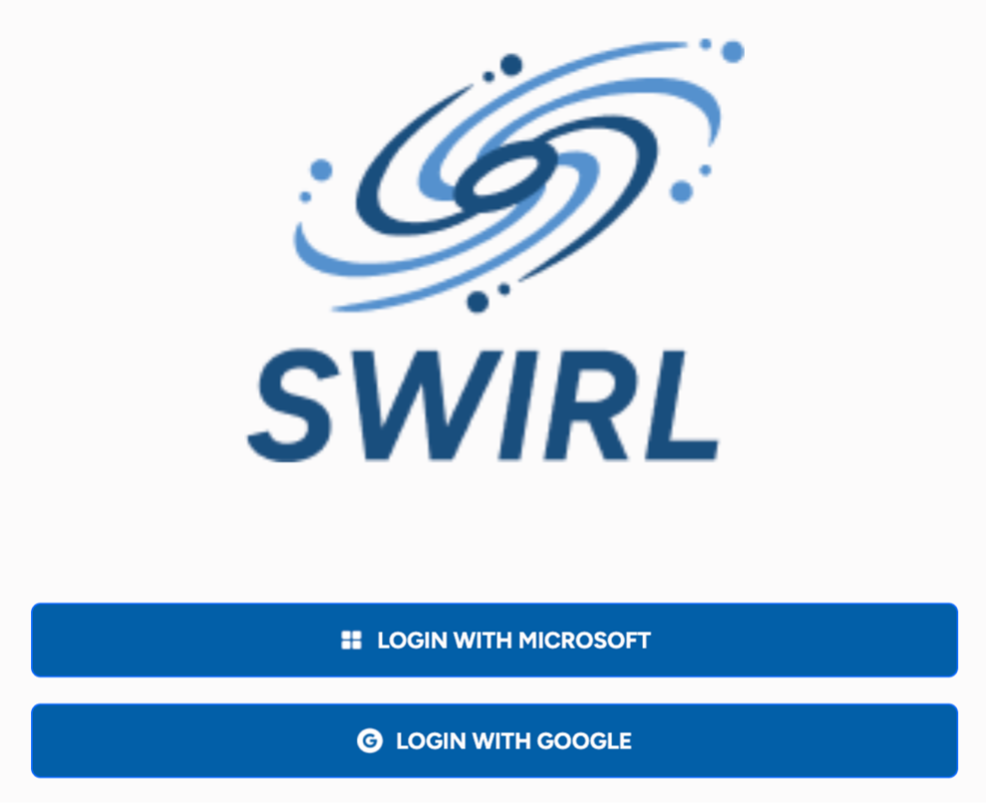
The SWIRL login page should then present a Login with Google button:
Local Installation
To enable OIDC ("Login with Google"), locate and copy the following values from the just completed application registration:
- <application-id>
- <tenant-id>
- <oidc-callback-url>
From the SWIRL home directory, open the static/api/config/default file within in an editor and locate the oidcConfig section:
"oidcConfig": {
   "Google": {
      "active": false,
      "clientId":  "<google-client-id>.apps.googleusercontent.com",
      "redirectUri": "http://<swirl-host>:<swirl-port>/galaxy/oidc-callback",
      "scope": "openid email profile"
   }
},
Add the values from your GW App Registration to the Google section.
Also, set the active value to true.
Activate the Google Workspace SearchProviders
SWIRL includes pre-configured SearchProviders for:
- Google Mail (GMail)
- Google Calendar
- Google Drive
- Google Chat
- Google Mail – Only the latest messages are shown.
- Google Calendar – Only recent events are shown.
- Google Drive – Folders are omitted; only documents appear.
- Google Chat – Only chat messages are indexed. Files shared in chats appear in Google Drive results.
To Enable Google Workplaces do the following:
-
Open the Admin Console:
http://localhost:8000/admin/swirl/ -
Click SearchProviders:
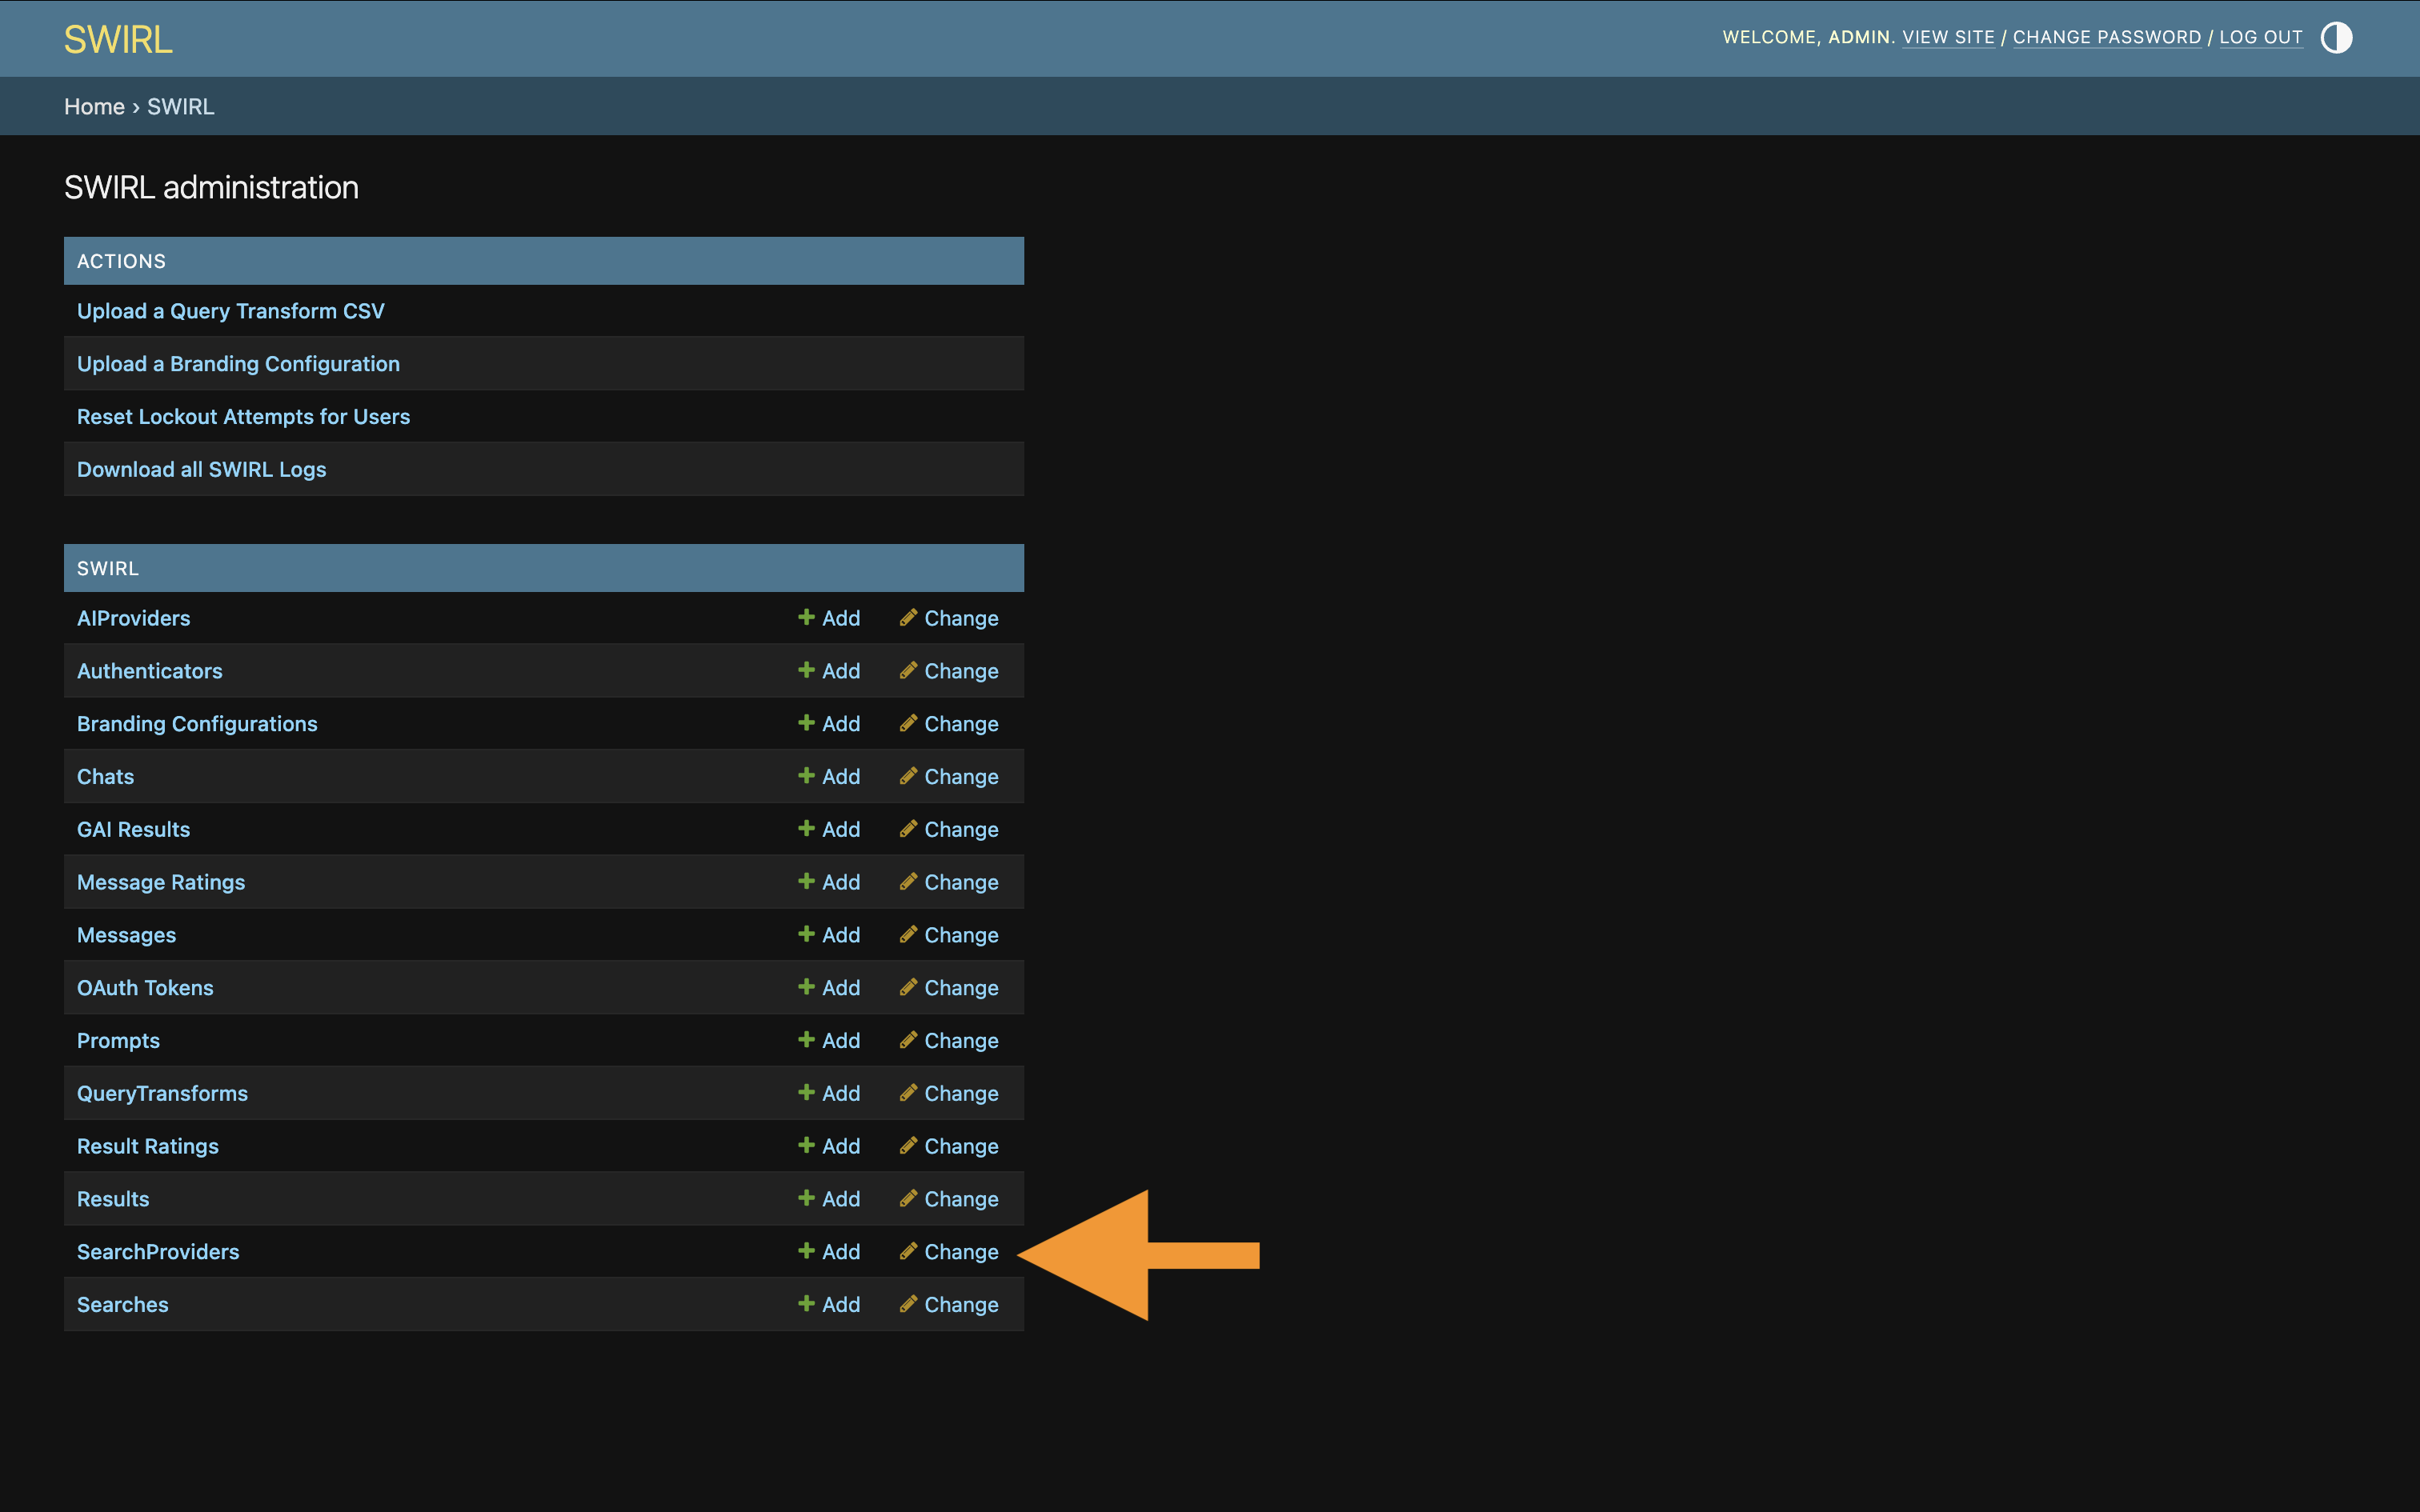
-
This will bring up the list of SearchProviders:
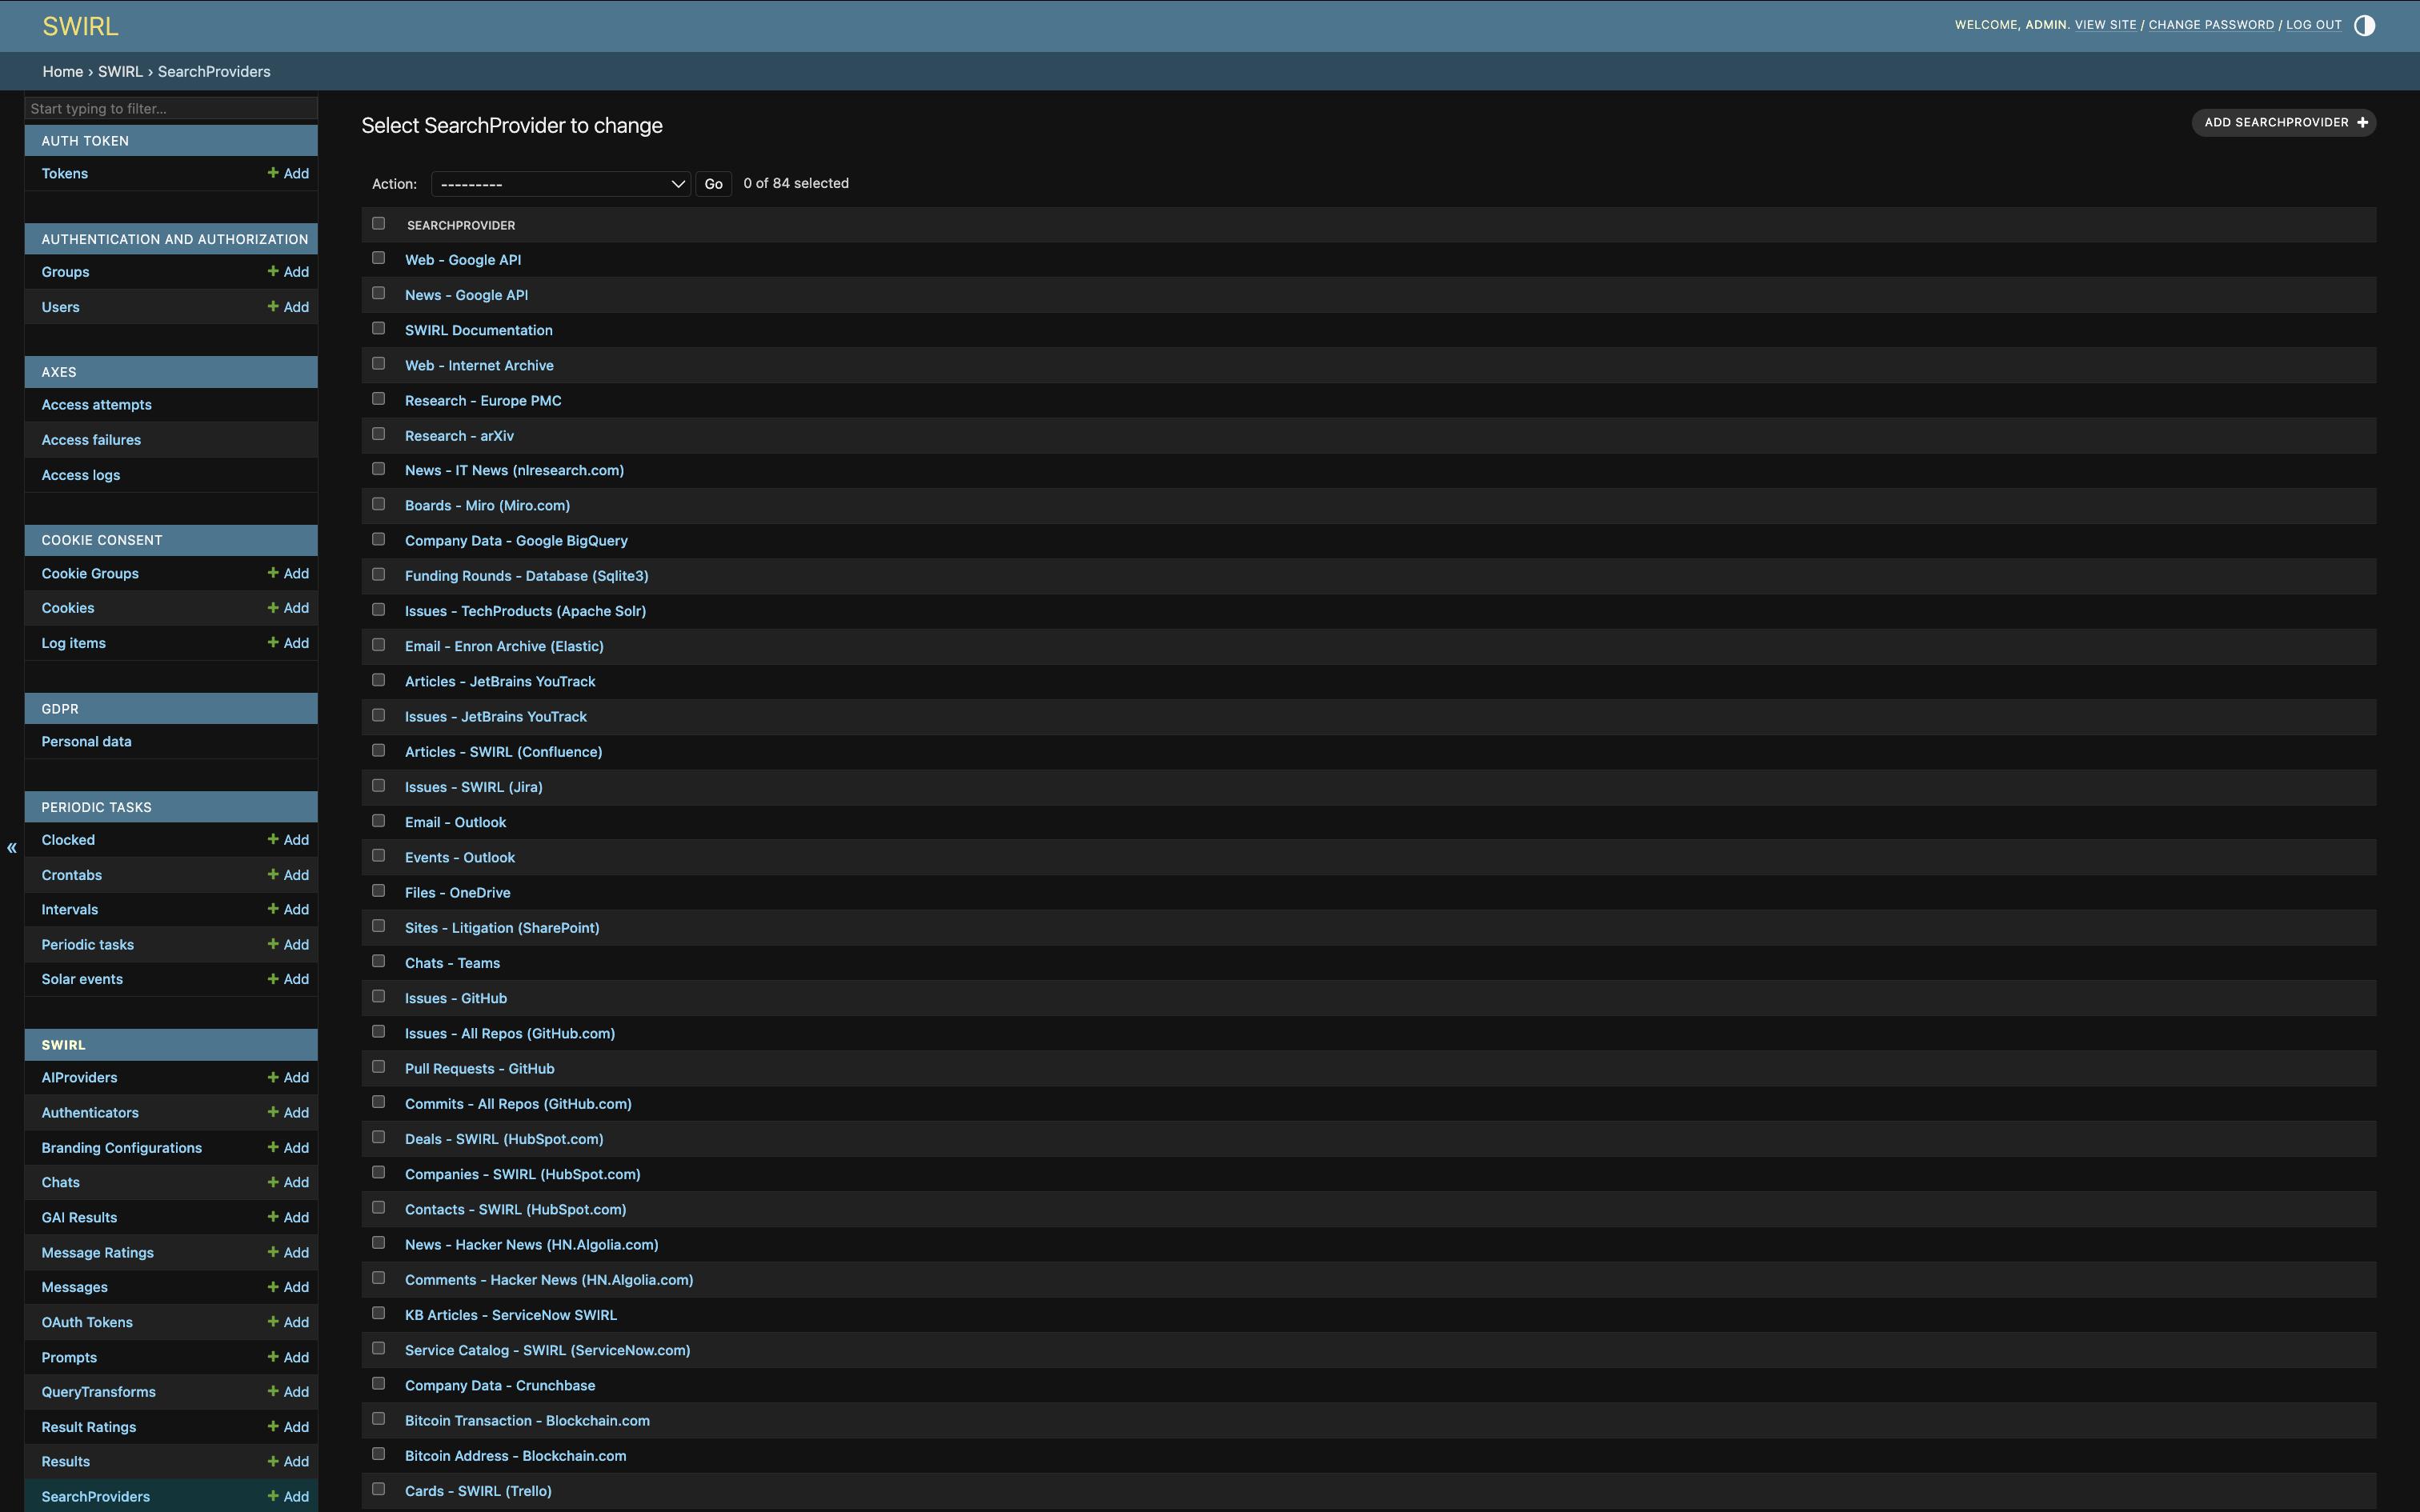
-
Click each Google Workspace SearchProvider to edit it.
-
Check the "active" field.
-
Click the "SAVE" button at the bottom of the page.
Login to SWIRL using Google Workspace
The SWIRL login page should now contain a Login with Google button.
Clicking this button should log the user into SWIRL using the configured Google Workspace tenant. Both the AI Search and AI Search Assistant profile pages should show a Google switch:
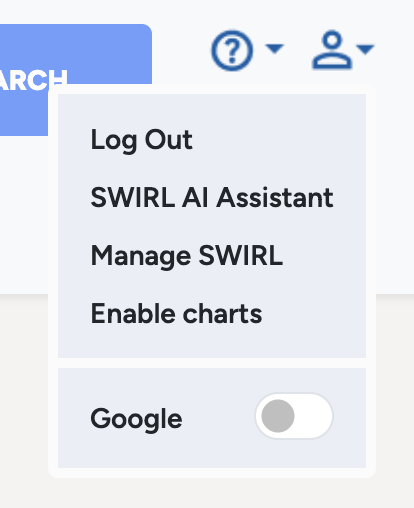
Google may ask for consent the first time, depending on tenant configuration.
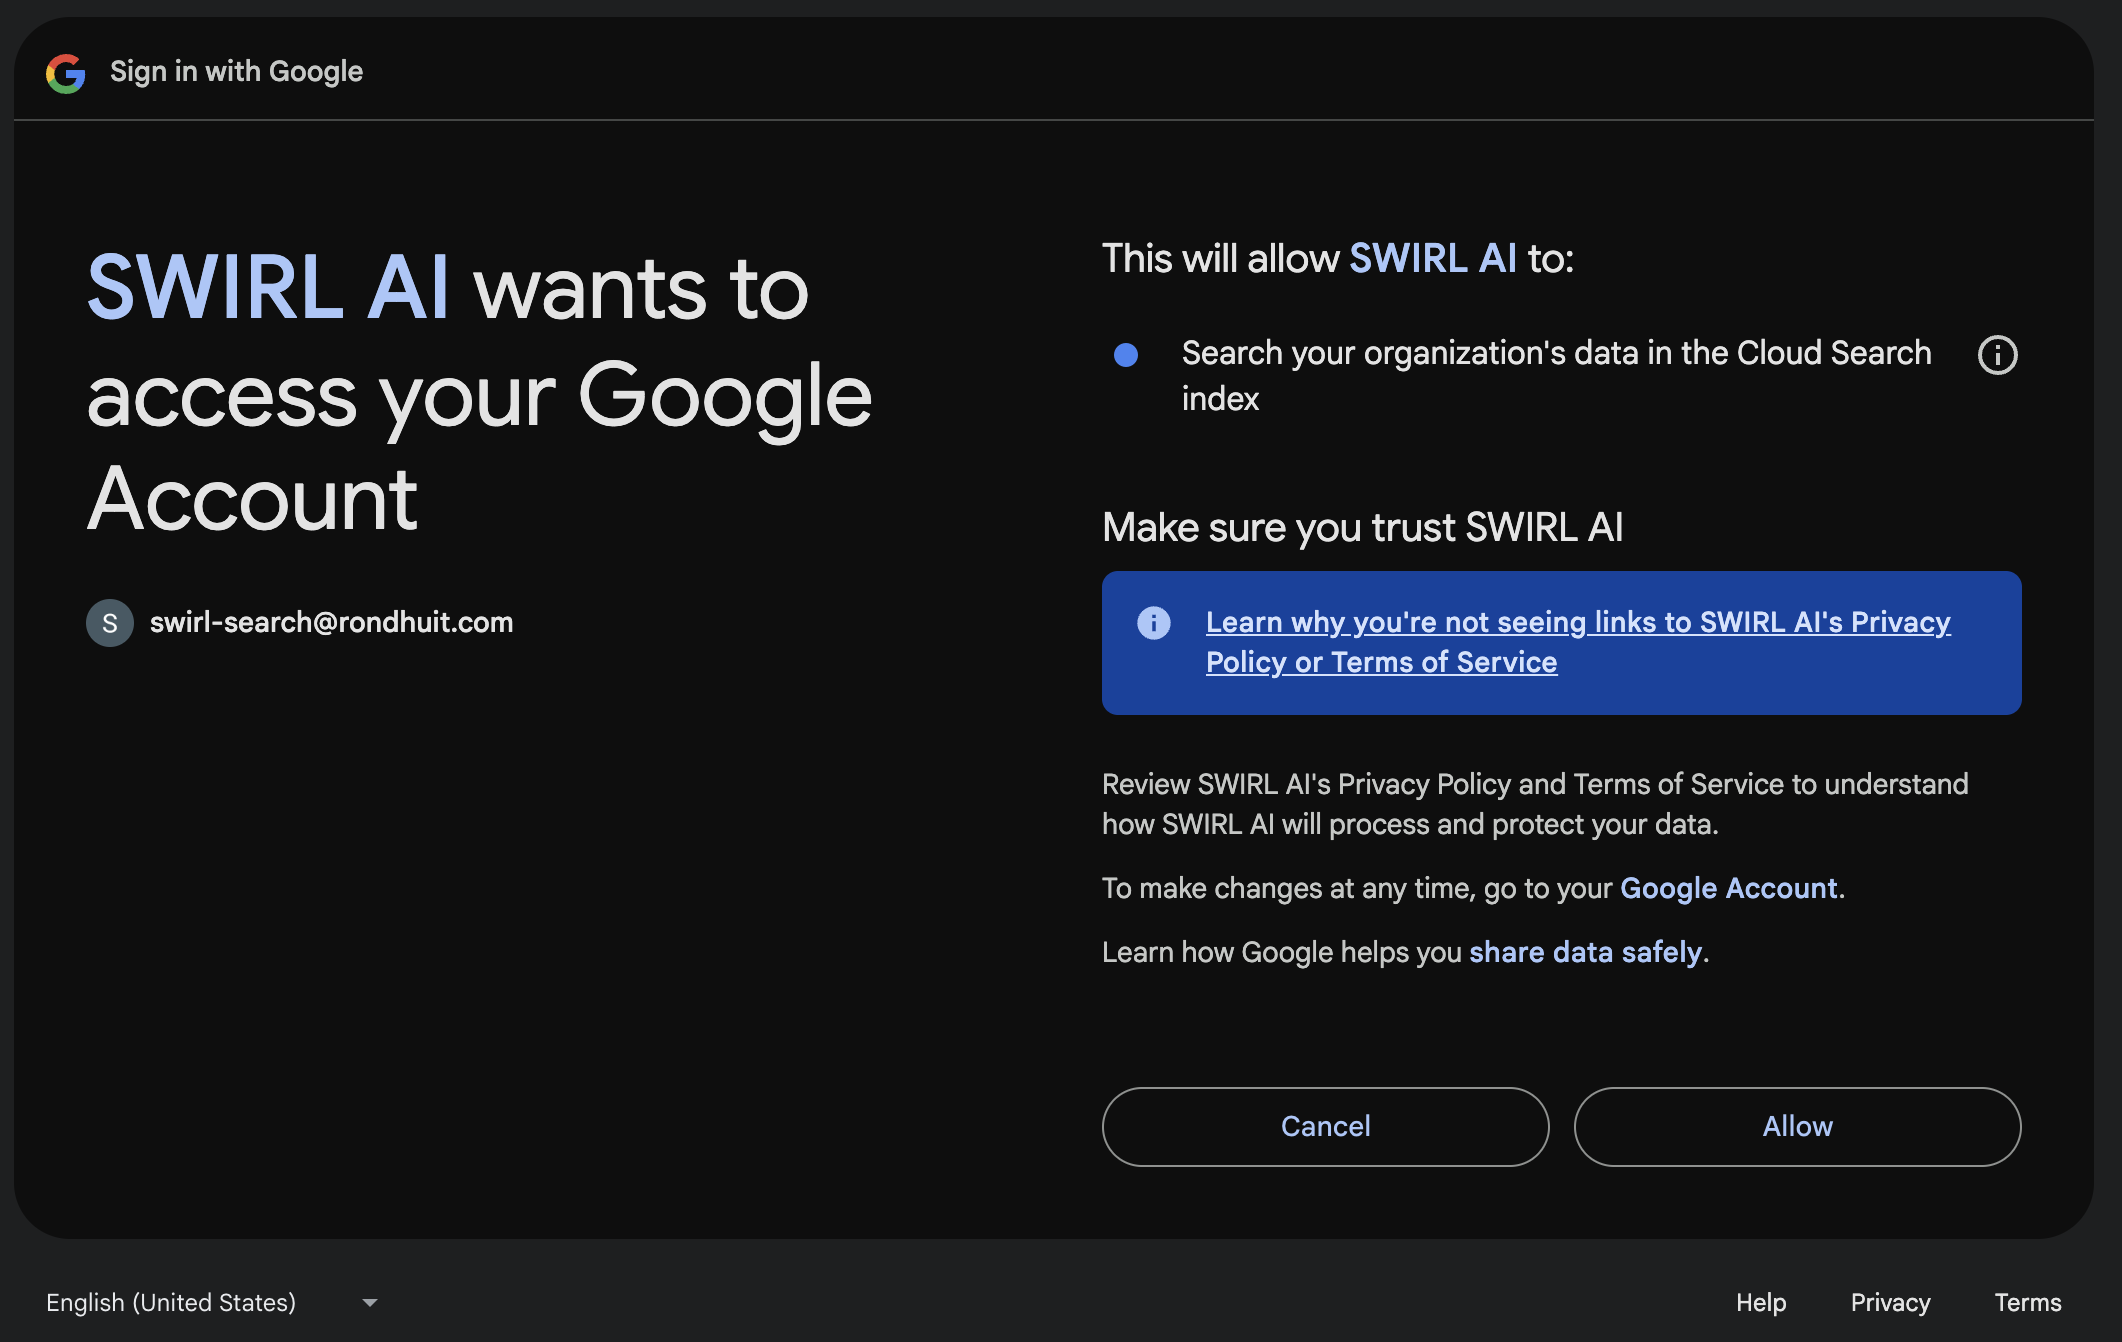
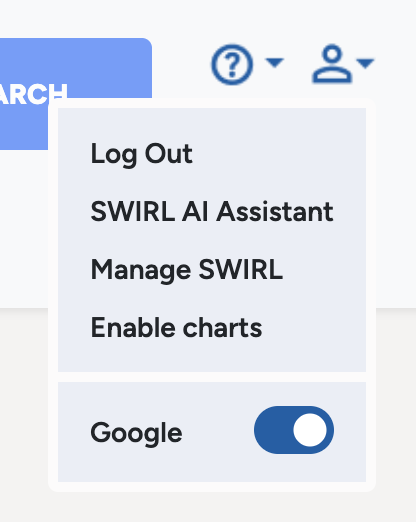
Click "Allow" to be redirected back to SWIRL. The Google switch should now be "on".
The user should now be able to search the configured Google properties using the source selector in the search form:
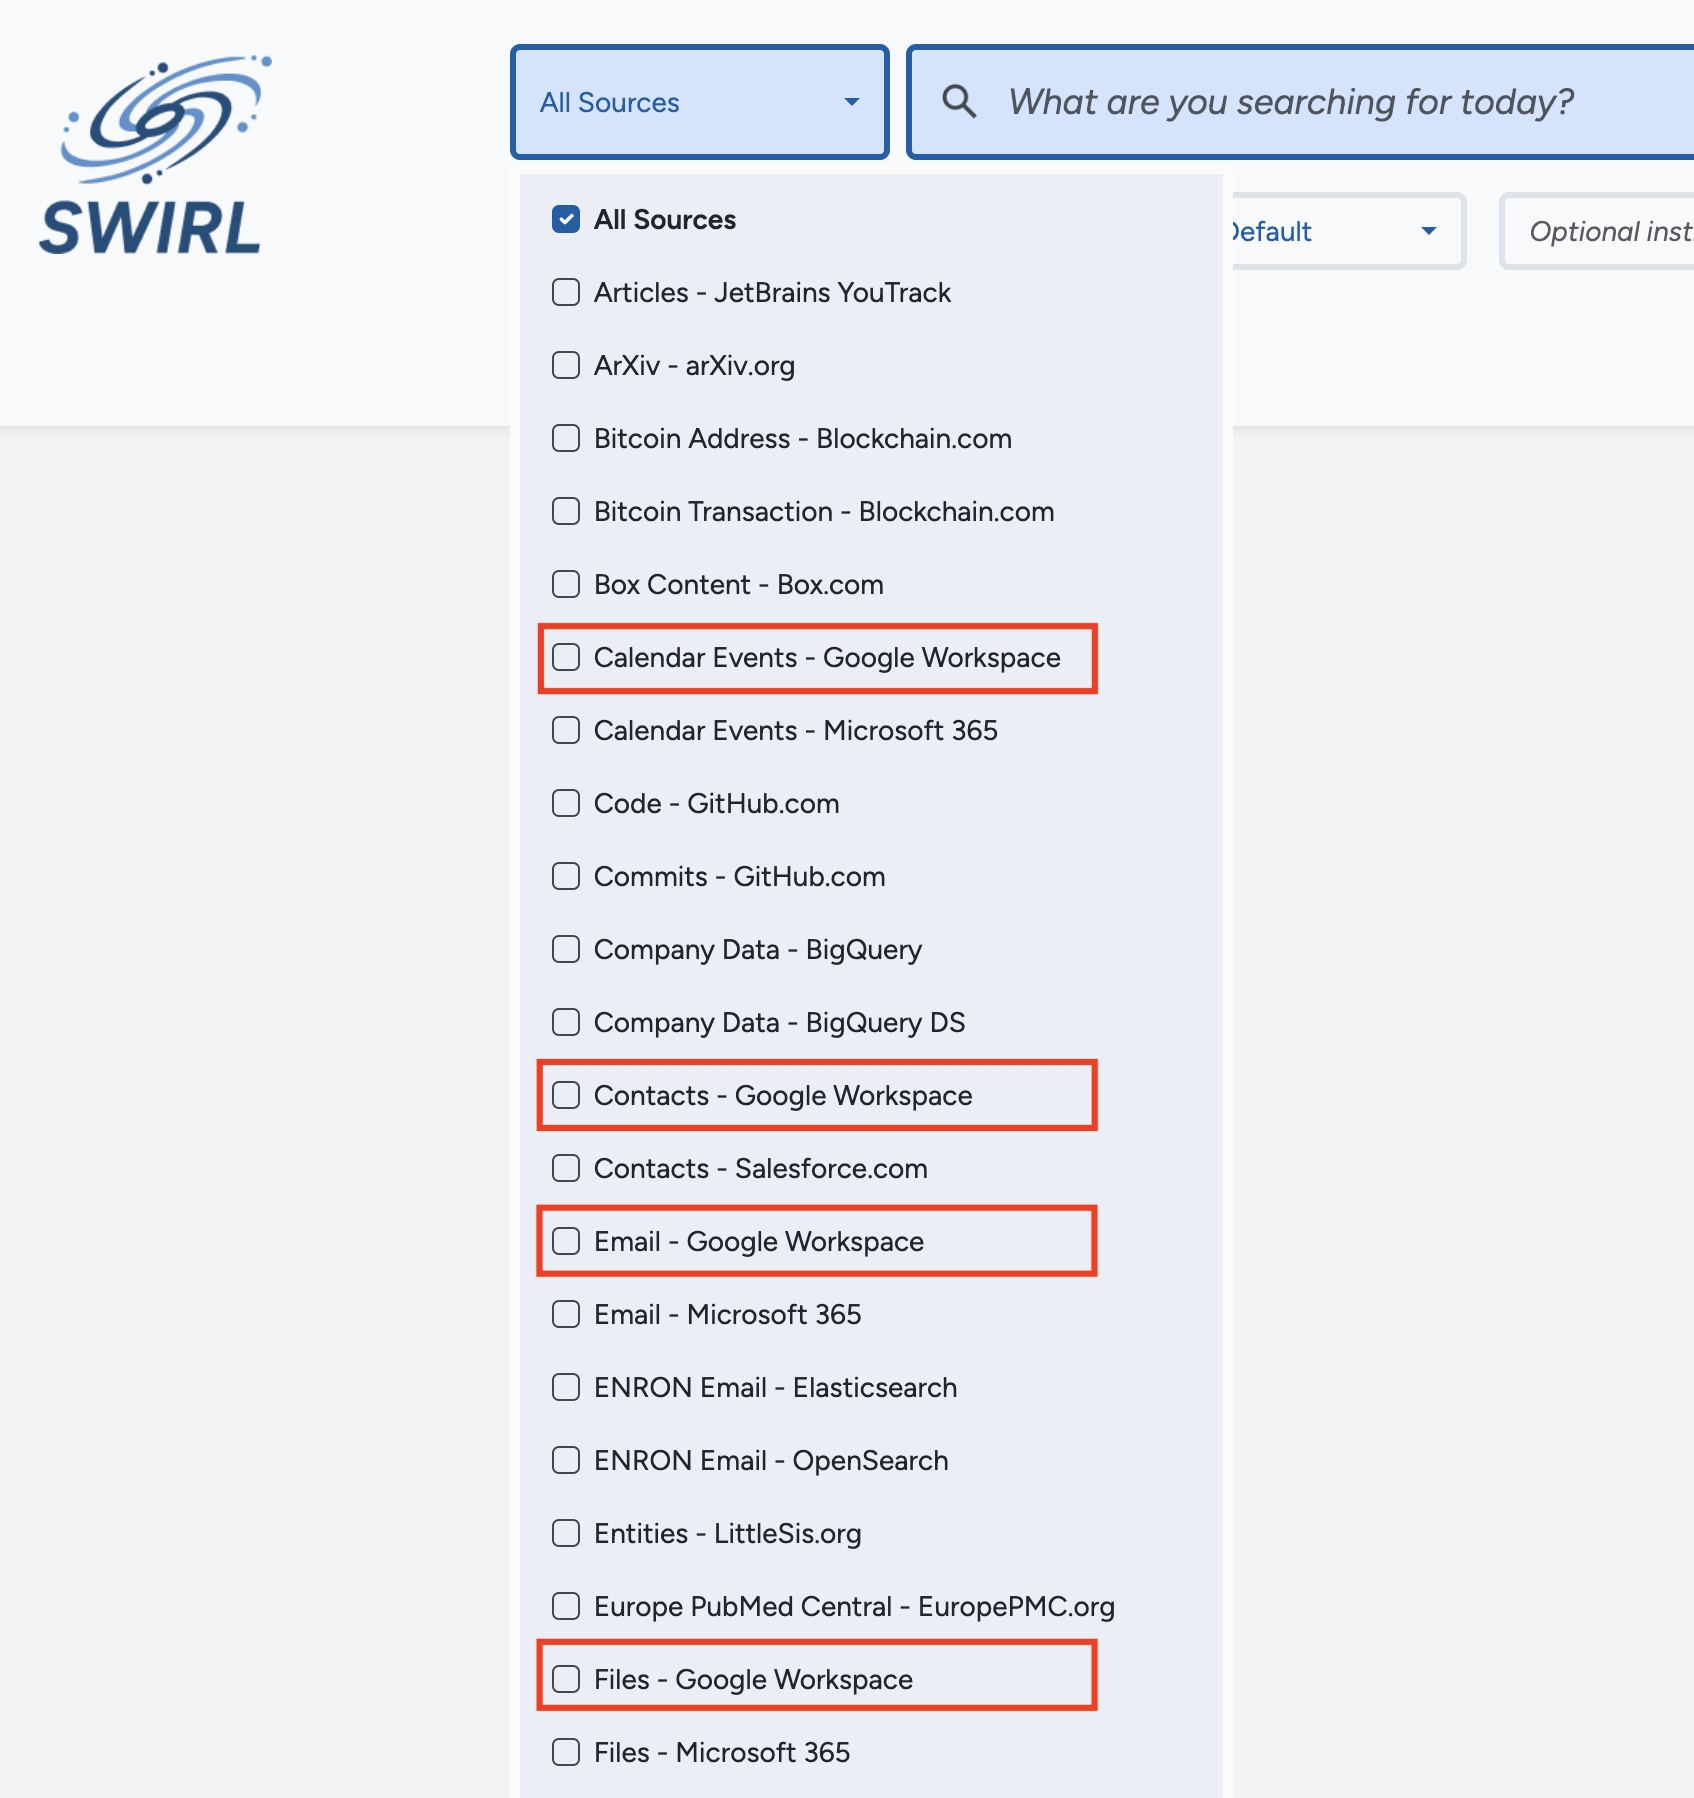
The Search Assistant will also be able to search those sources on the user's behalf.