Quick Start Guide
Please contact SWIRL for access to SWIRL Enterprise.
System Requirements
- The recommended minimum is a 32-core server with 64 GB of memory and at least 500 GB of available disk space. This supports up to 25 users.
Recommended Cloud Instances
| Cloud Platform | Instance / Machine Type | vCPUs | RAM | Default / Local Storage |
|---|---|---|---|---|
| AWS EC2 | c6i.8xlarge |
32 | 64 GiB | EBS-only |
c7g.8xlarge |
32 | 64 GiB | EBS-only | |
| GCP Compute Engine | n2-custom-32-65536 |
32 | 64 GB | None (customizable) |
c2d-standard-32 |
32 | 128 GB | None (customizable) | |
| Azure VMs | Standard_F32s_v2 |
32 | 64 GiB | OS disk only |
Installing SWIRL via Azure Marketplace
Deploy SWIRL privately on a VM in your Azure tenant.
>> Click "Get it now" to install: https://marketplace.microsoft.com/en-us/product/virtual-machines/swirlcorporation1684335149355.swirl_vm_offer_poc?tab=Overview
Installing SWIRL via Docker
Deploy SWIRL privately, anywhere Docker runs.
>> Follow instructions here: https://github.com/swirlai/docker-compose
Verifying SWIRL Startup
-
Open a browser and navigate to http://localhost:8000 or http://localhost:8000/galaxy.
-
If the search page loads, click
Log Outin the top-right corner. The login page appears: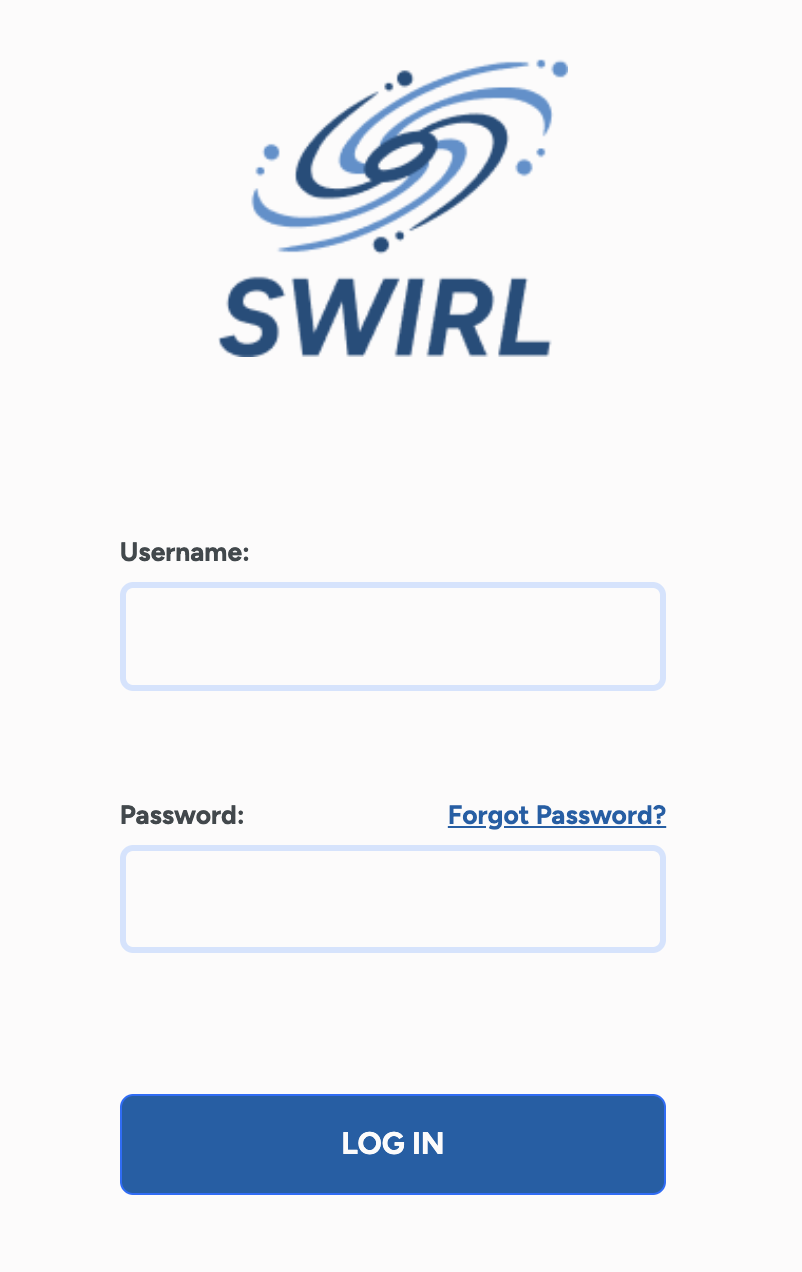
-
Log in with:
- Username:
admin - Password:
password
{: .warning }
If you receive a warning about the password being compromised, follow these steps:
Change the super user password
-
Enter a search term and press
Search. The ranked results should appear:
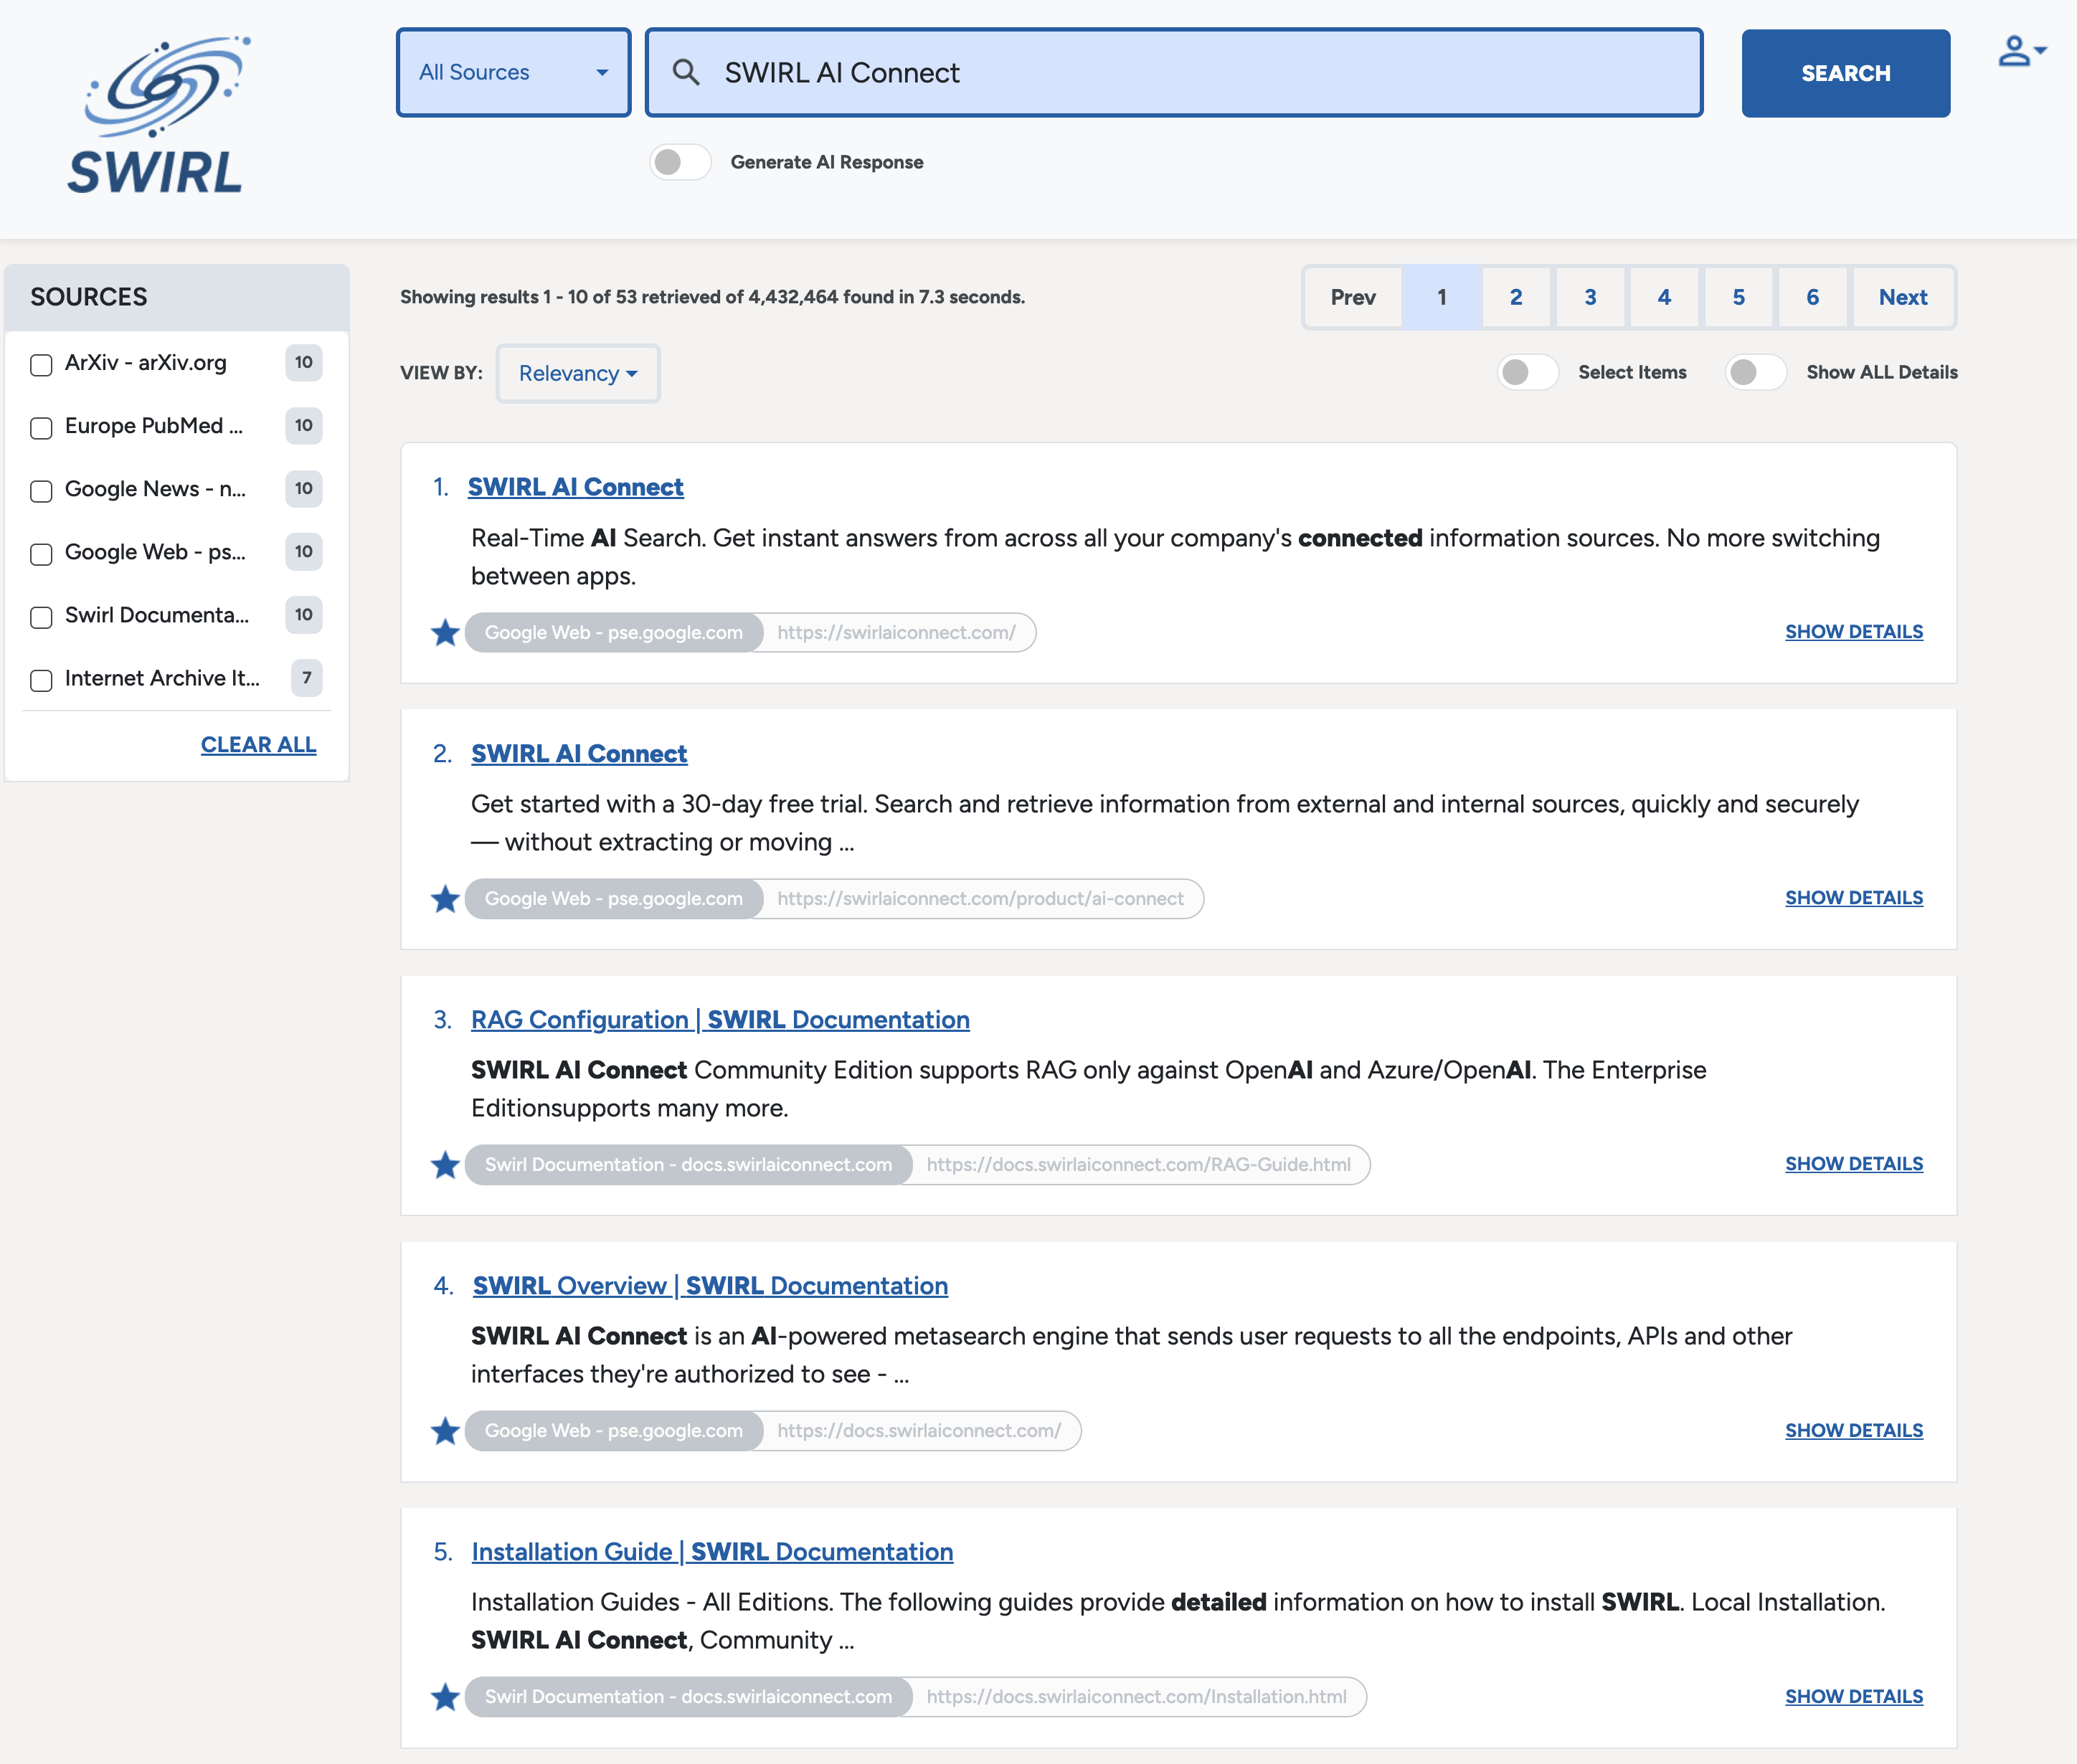
If no results appear or an error occurs, please contact support.
Enabling AI Features
To use Generate AI Insights (RAG) or AI Search Assistant, at least one AI provider must be activated.
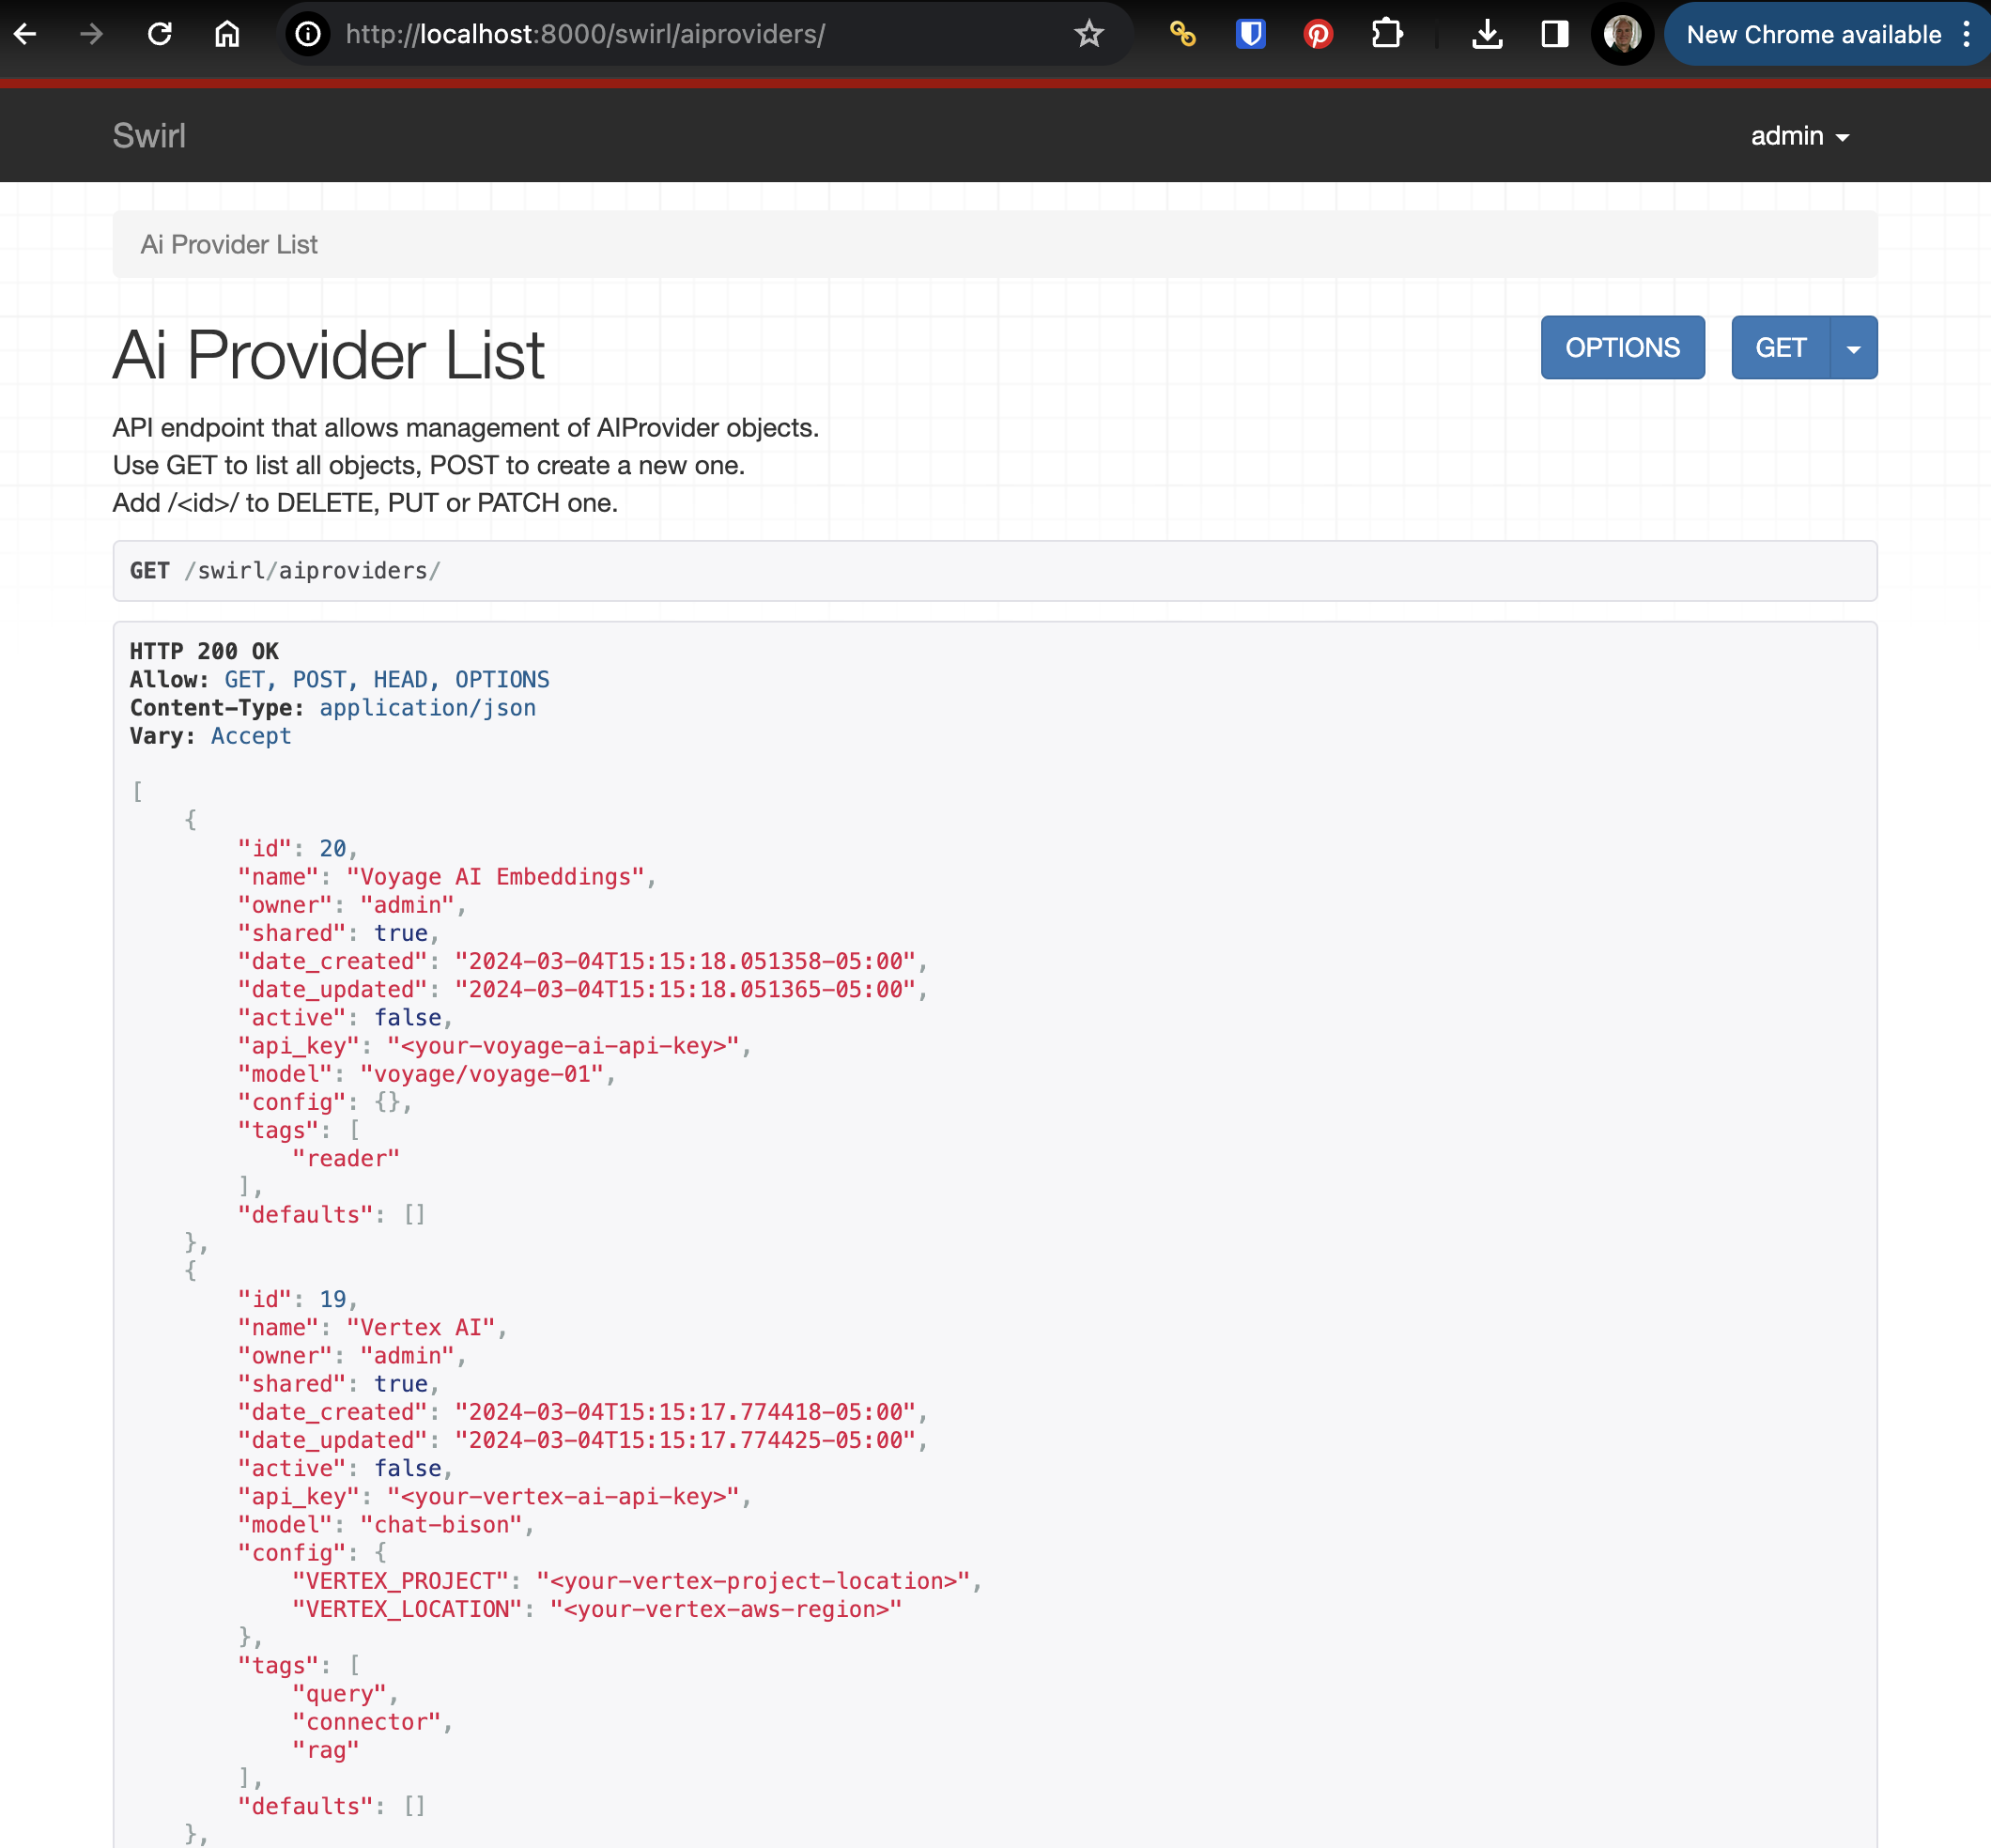
- Go to http://localhost:8000/swirl/aiproviders/.
- Review the pre-loaded AI providers.
-
To edit a provider, add its ID to the URL — for example, http://localhost:8000/swirl/aiproviders/16/.
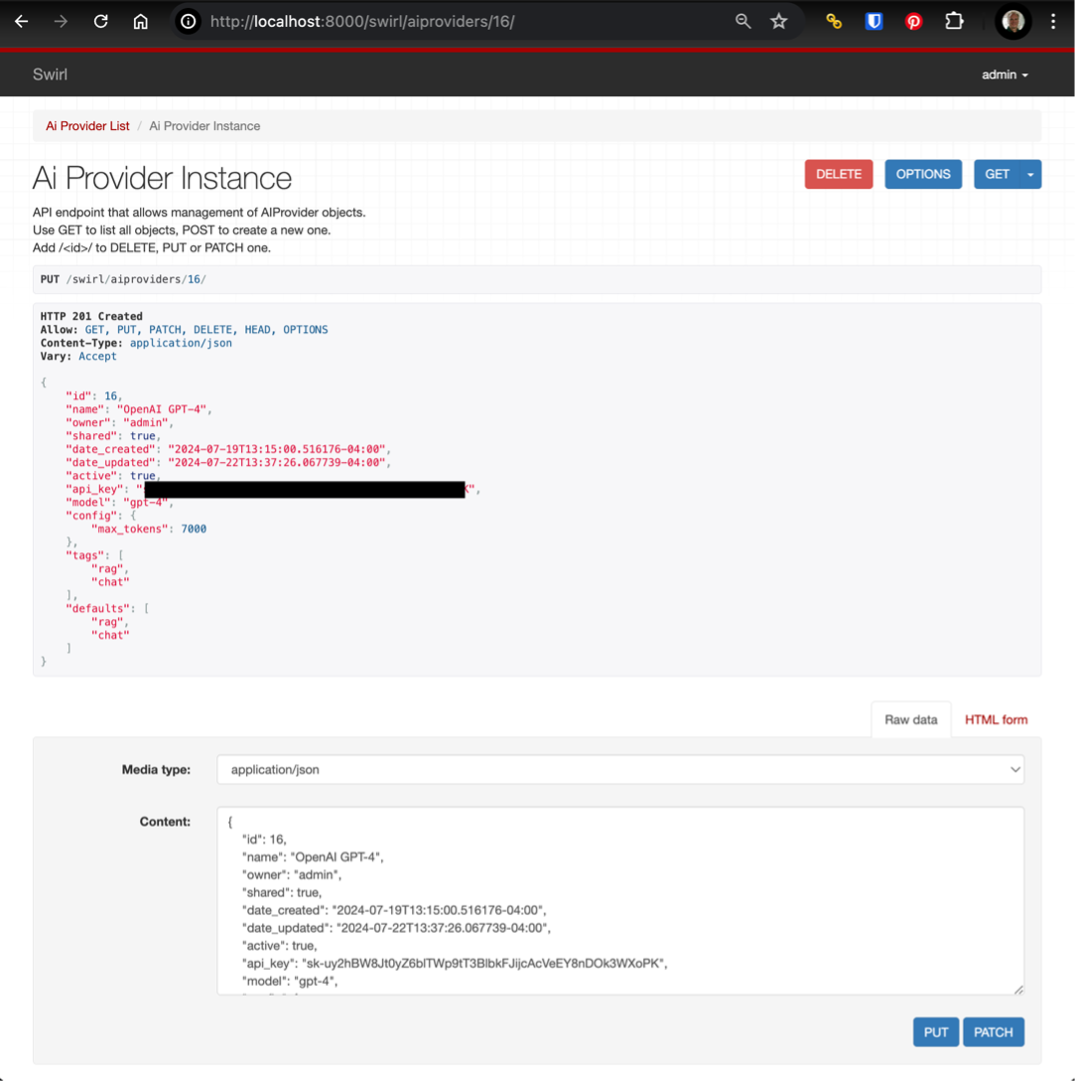
-
Use the "Raw Data" form at the bottom to make changes, then click
PUTto save.To function correctly, an AI provider must:
- Have
"active": trueset. - Include
"rag"and/or"chat"in the"tags"list. - Include
"rag"and/or"chat"in the"defaults"list. - Have a valid API key (if required).
- Have
-
To create a new provider, copy an existing one and paste it as a new entry.
To use different AI providers for RAG and the AI Search Assistant, adjust the
"defaults"list. For example:- OpenAI GPT-4 →
"defaults": ["rag"] - Azure/OpenAI GPT-4o →
"defaults": ["chat"]
- OpenAI GPT-4 →
-
Once an active provider for RAG exists, click
Generate AI Insights.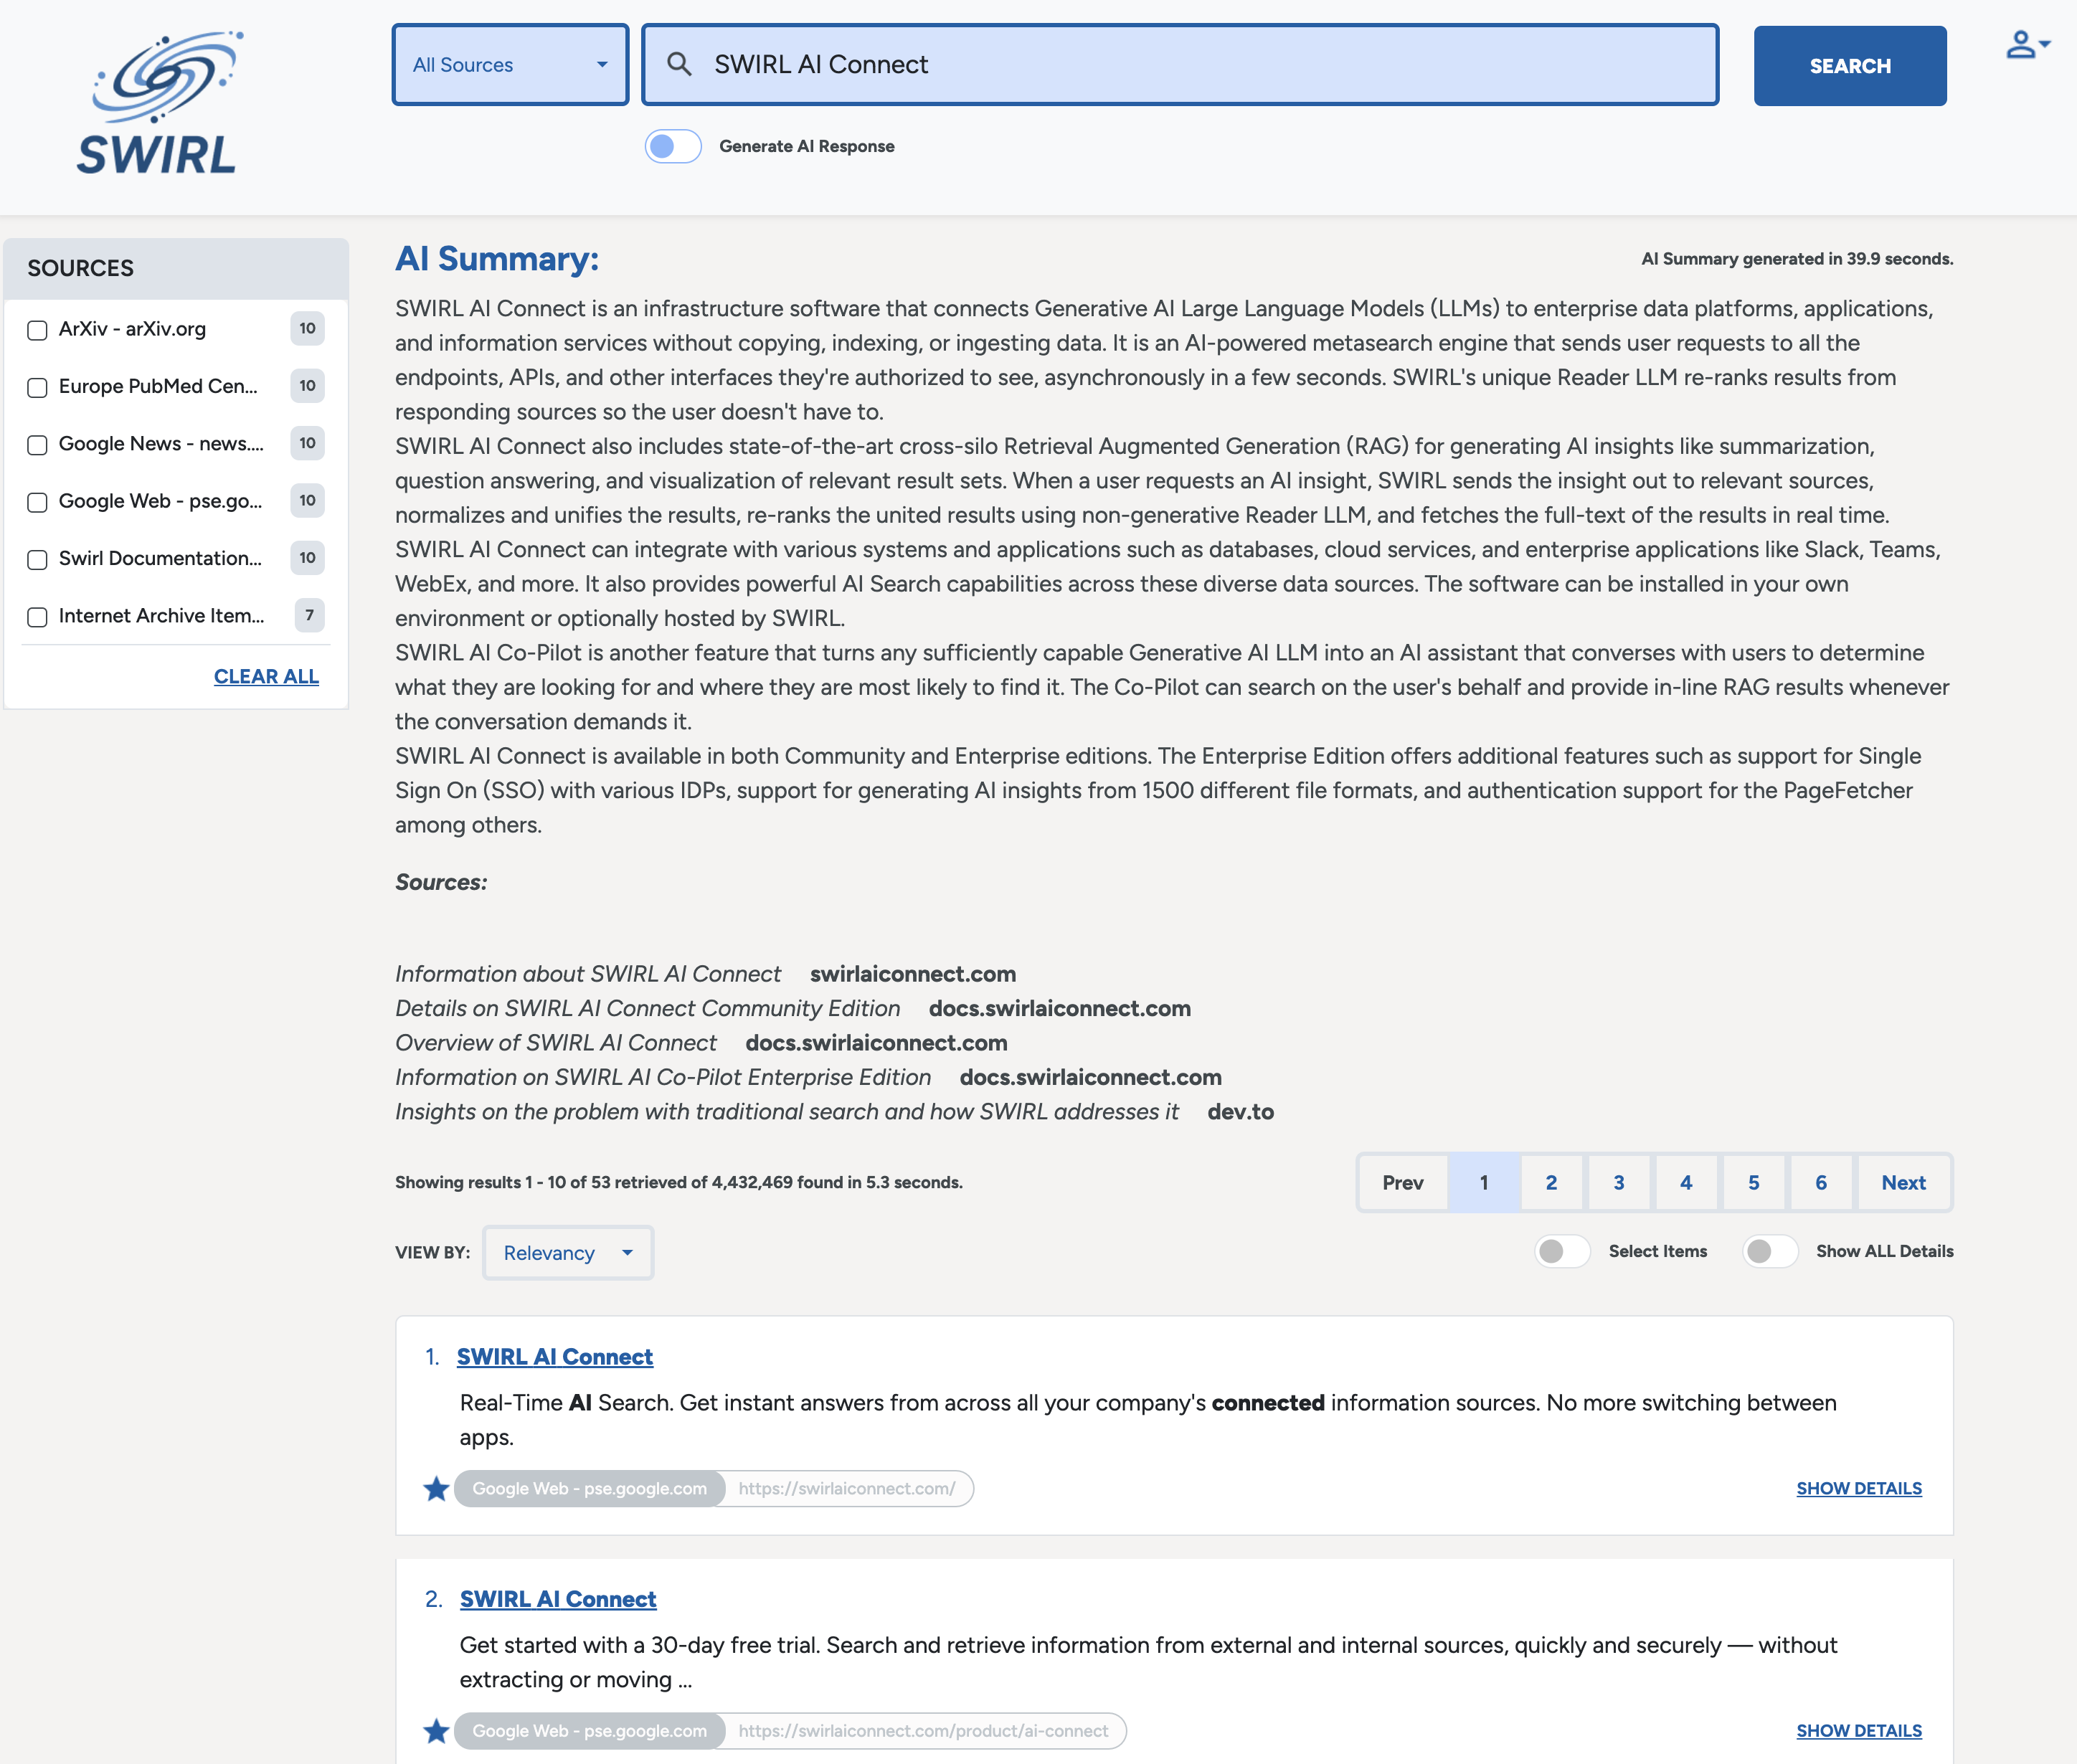
-
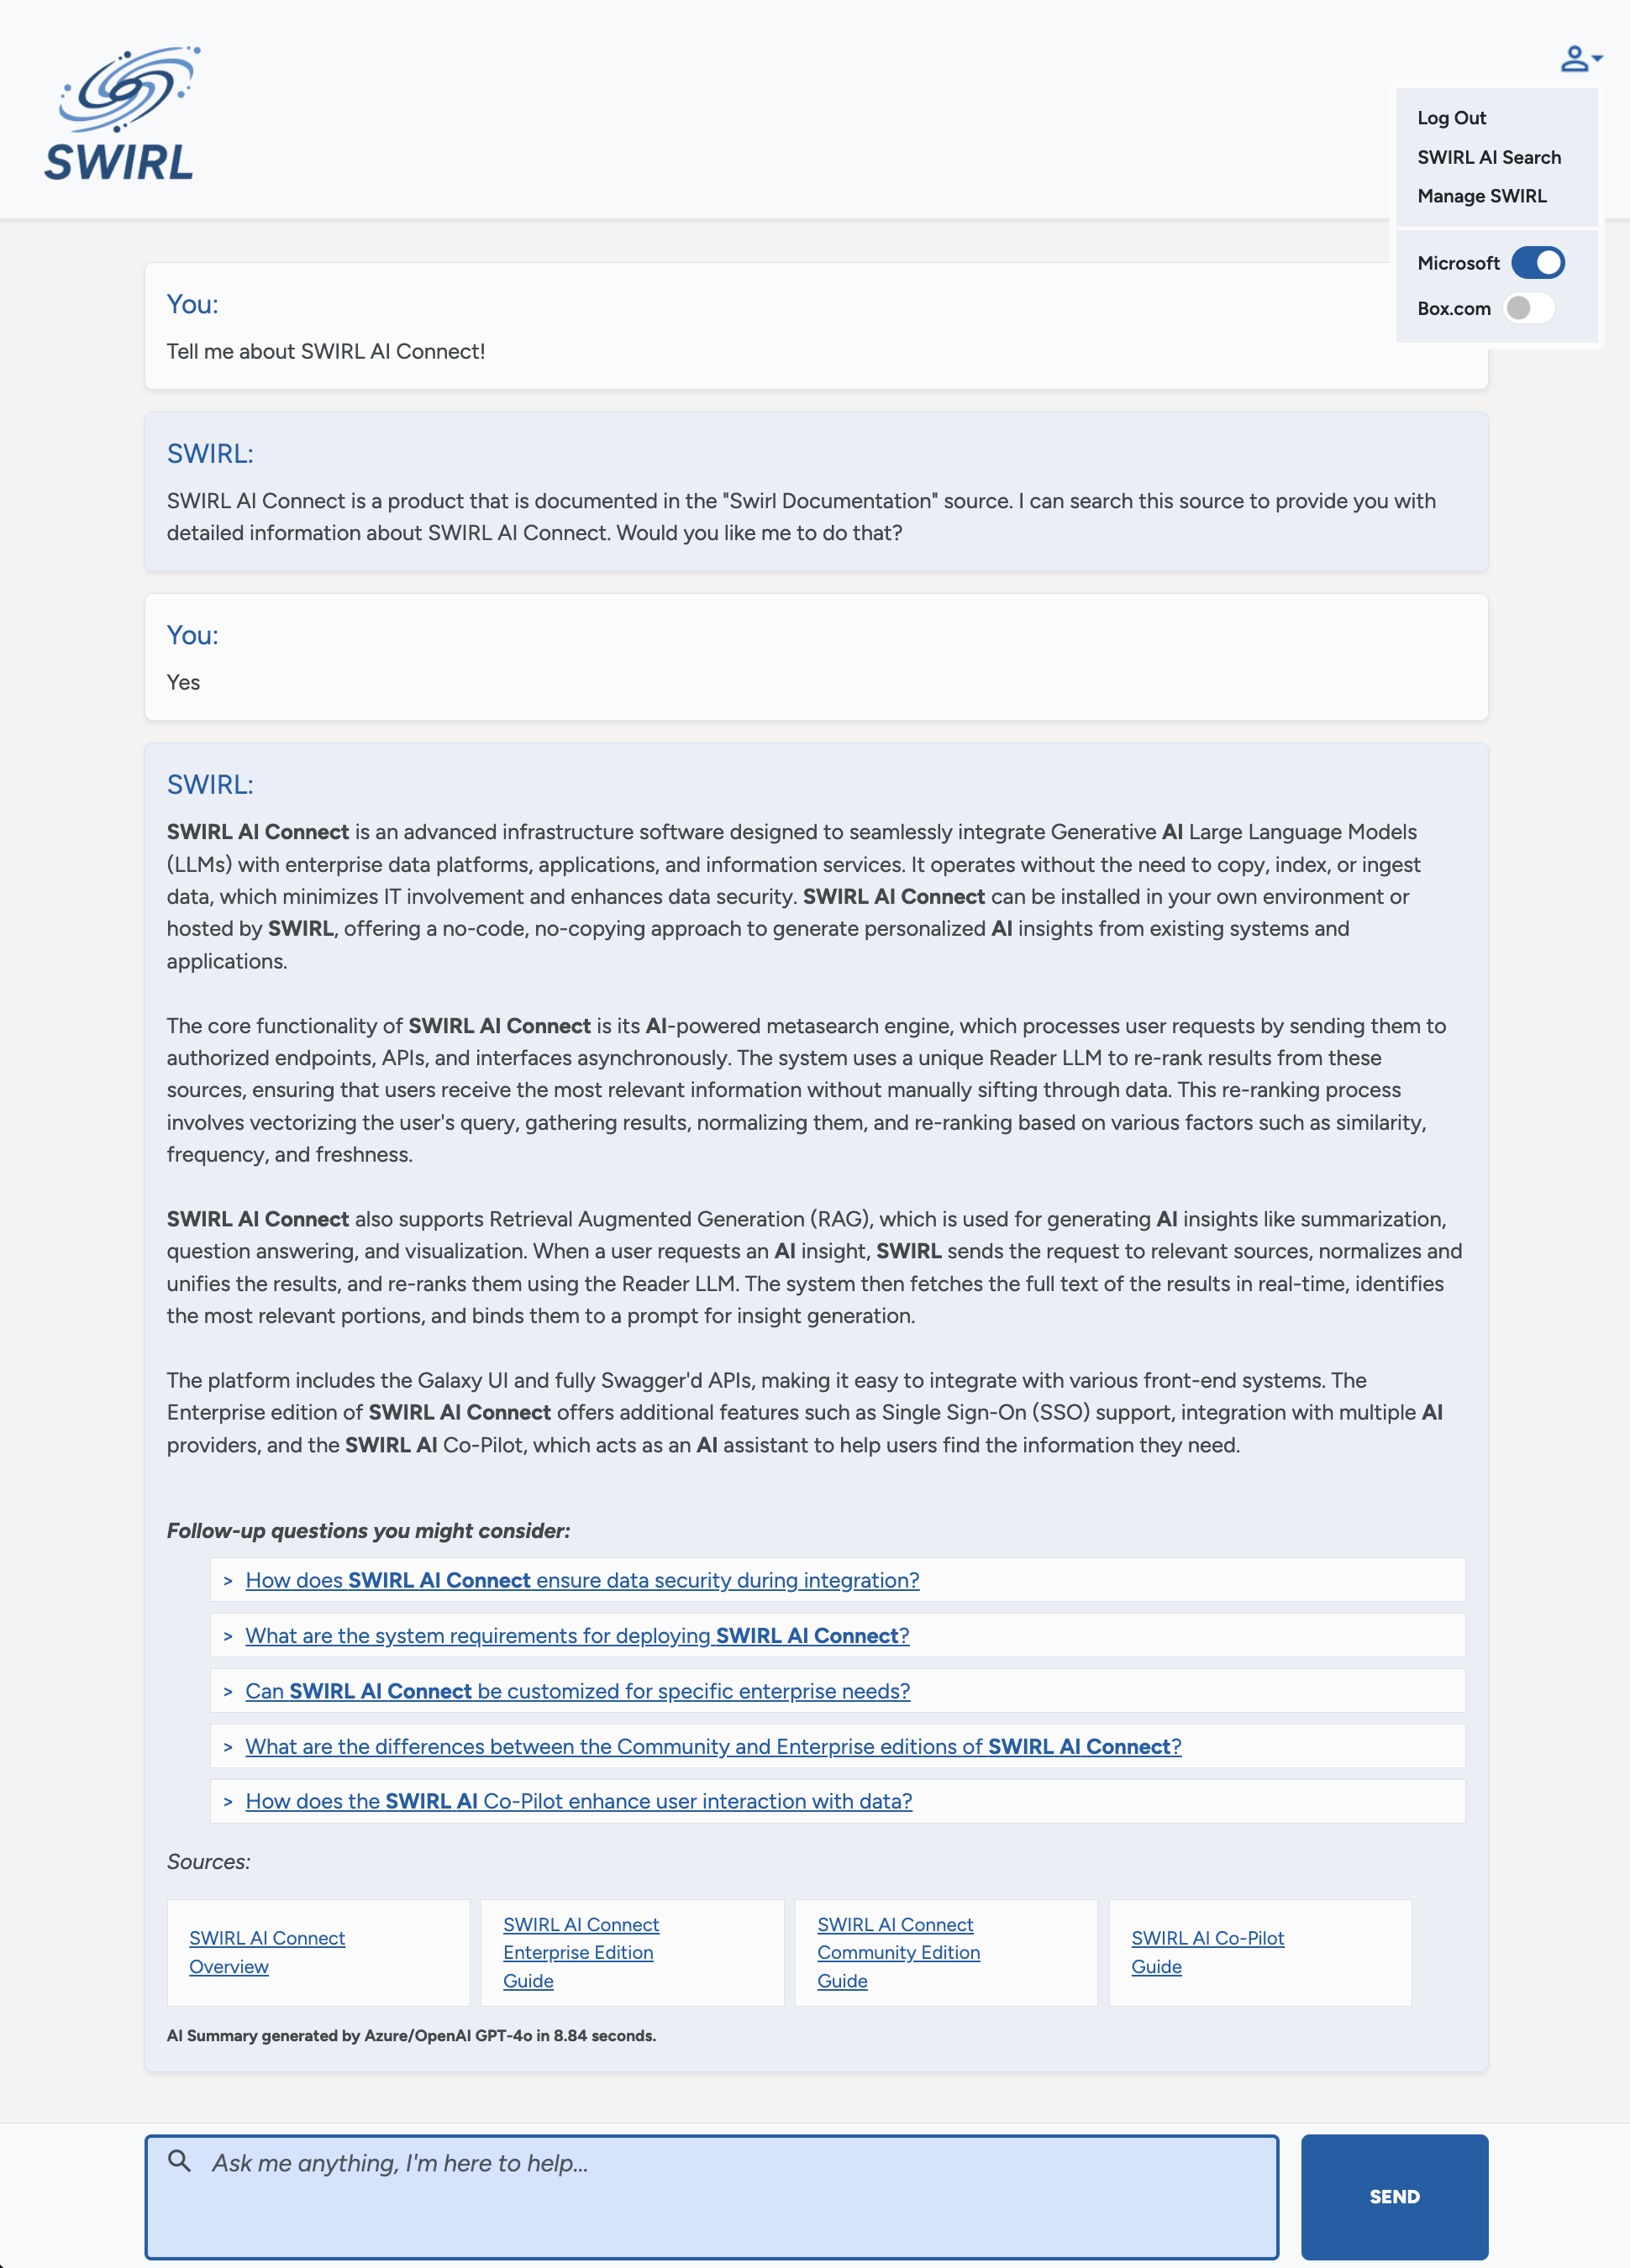
To access SWIRL AI Search Assistant, visit http://localhost:8000/galaxy/chat.
-
Ask a question, such as: "Tell me about SWIRL AI Search?"
Starting and Stopping SWIRL
>> Full article: Controlling the SWIRL Service
Optional Steps
- Customize SWIRL for any organization:
- Upload a branding configuration, including logos and Galaxy control labels.
- Customize the AI Search RAG prompt and the AI Search Assistant prompt.
- Manage SWIRL via the Galaxy UI:
- Click the profile avatar (top-right corner).
- Click
Manage SWIRL(http://localhost:8000/swirl/).
Microsoft 365 Integration
To connect SWIRL with Microsoft 365, you need:
- Admin access to the Azure/M365 tenant.
- An app registration in Azure.
- The app ID and secrets added to SWIRL.
Setup takes about an hour. See the Microsoft 365 Integration Guide.
For additional help, contact support.
Google Workspace Integration
To connect SWIRL with Google Workspace, you need:
- Admin access to the Google Workspace tenant.
- An app registration in Google Workspace.
- The app ID and secrets added to SWIRL.
Setup takes about an hour. See the Google Workspace Integration Guide.
For additional help, contact support.
Migrating from SWIRL Community
Migrating SearchProviders
Before migrating, consider deleting the preloaded SearchProviders in the SWIRL Enterprise installation.
-
Locate the
migrate_sp.pyscript. As of SWIRL 4.4, it lives in theDevUtilsfolder. If you are running an earlier version, request it from support. -
Go to the
swirl/SearchProvidersendpoint on the SWIRL server. Copy the entire JSON list to the clipboard, then paste this into a text file. Save the text file - for example, tomySPs.json -
Run the script:
python migrate_sp.py myCommunitySPs.json myEnterpriseSPs.json -
Open the output file. Copy and paste the contents into the input box at the bottom of the same endpoint
/swirl/SearchProvidersof your SWIRL Enterprise installation. Click thePUTbutton. -
The page should refresh and show you the new SearchProviders. (If there were already SearchProviders loaded, the new ones will be later in the list.)
Note any errors, and feel free to contact support for assistance.
Migrating OpenAI/Azure OpenAI settings
- Go to the
/swirl/aiproviders/endpoint in the SWIRL Enterprise installation.
-
Locate the OpenAI or AzureOpenAI preloaded configuration.
-
Copy the API key from the Community
.envfile, or the appropriate environment variable, to thecredentialsfield in the Enterprise AI Provider. For example:
For OpenAI:
% echo $OPENAI_API_KEY
<your-key-here>
For Azure/OpenAI:
% echo $AZURE_OPENAI_KEY
<your-api-key>
% echo $AZURE_OPENAI_ENDPOINT
<your-azure-openai-endpoint-url>
% echo $AZURE_MODEL
<your-azure-openai-model>
Set the Enterprise AI Provider configuration active to true. Set the tags and default lists to include rag and chat.
- Refresh the Galaxy UI. The
Generate AI Insightsswitch in the Galaxy Search UI should now be available, along with the SWIRL AI Assistant at/galaxy/chat(or use the link under the profile icon at top right).
Migrating M365 Authentication
-
Go to the
swirl/authenticators/Microsoftendpoint in the SWIRL Enterprise installation. -
Copy the
Client IdandClient Secretfrom the M365 Azure App Registration or your Community.envfile as noted in the Microsoft 365 Integration Guide.
Note that you may need to modify the existing app registration if the URL of the SWIRL server is changing.